Guide to seed sowing success
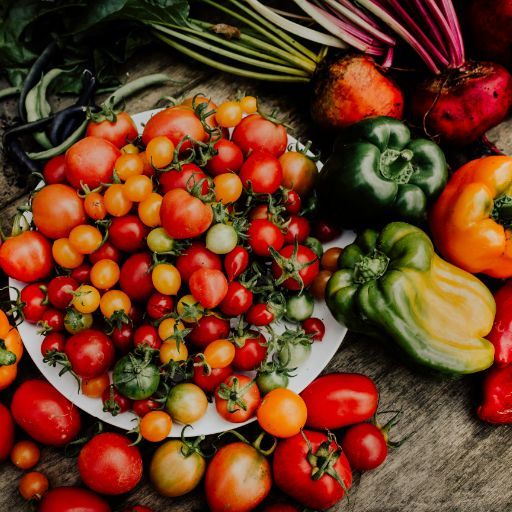
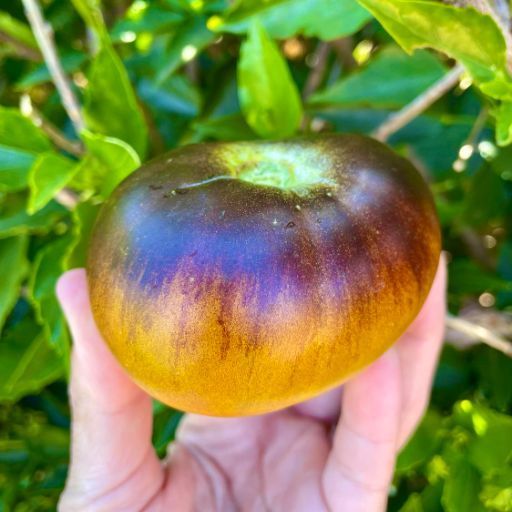
Thrive Sustainability seeds are open pollinated and will grow true to type if the correct seed saving process for each variety is followed. Harvesting food from plants that you have grown from a handful of tiny seeds is a truly magical and rewarding process, however there are a few keys to success.
Seeds are inexpensive and if you save your own …free!
Thrive Sustainability seeds are open pollinated and will grow true to type if the correct seed saving process for each variety is followed. Harvesting food from plants that you have grown from a handful of tiny seeds is a truly magical and rewarding process, however there are a few keys to success.
Germination - the development of a plant from a seed or spore after a period of dormancy.
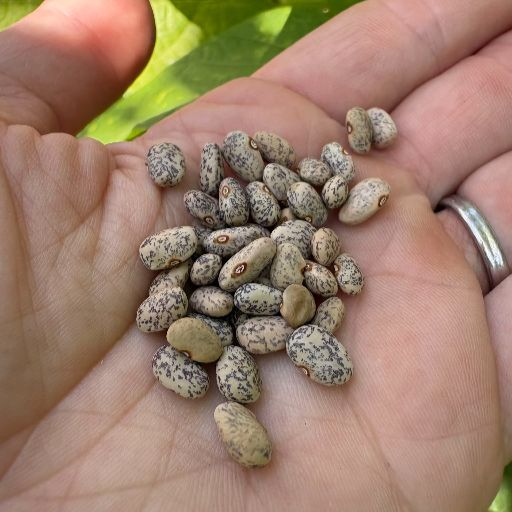
Depth- As a rule, seeds should be planted 2-3 times as deep as the seed size. If a tiny seed such as a carrot seed is sown to deep, it will not germinate.
Temperature. - Plants have their optimal temperatures for seed germination so growing vegetable in the right season is key to success e.g., Chilli seeds need temperatures above 20 c to germinate so are not suitable to sow in winter months.
Moisture. - Seed germination rely on adequate moisture – When starting seeds too little moisture and the seed will fail to germinate, too much the seed may rot, or newly emerged seedlings may suffer from fungal problems such as damping off. If starting seeds in containers placing a clear bag over the pot or creating a grow box out of an old clear plastic storage box, this can work well to prevent the soil drying out. In early stages of germination, it is so important that you do not let the soil dry out completely.
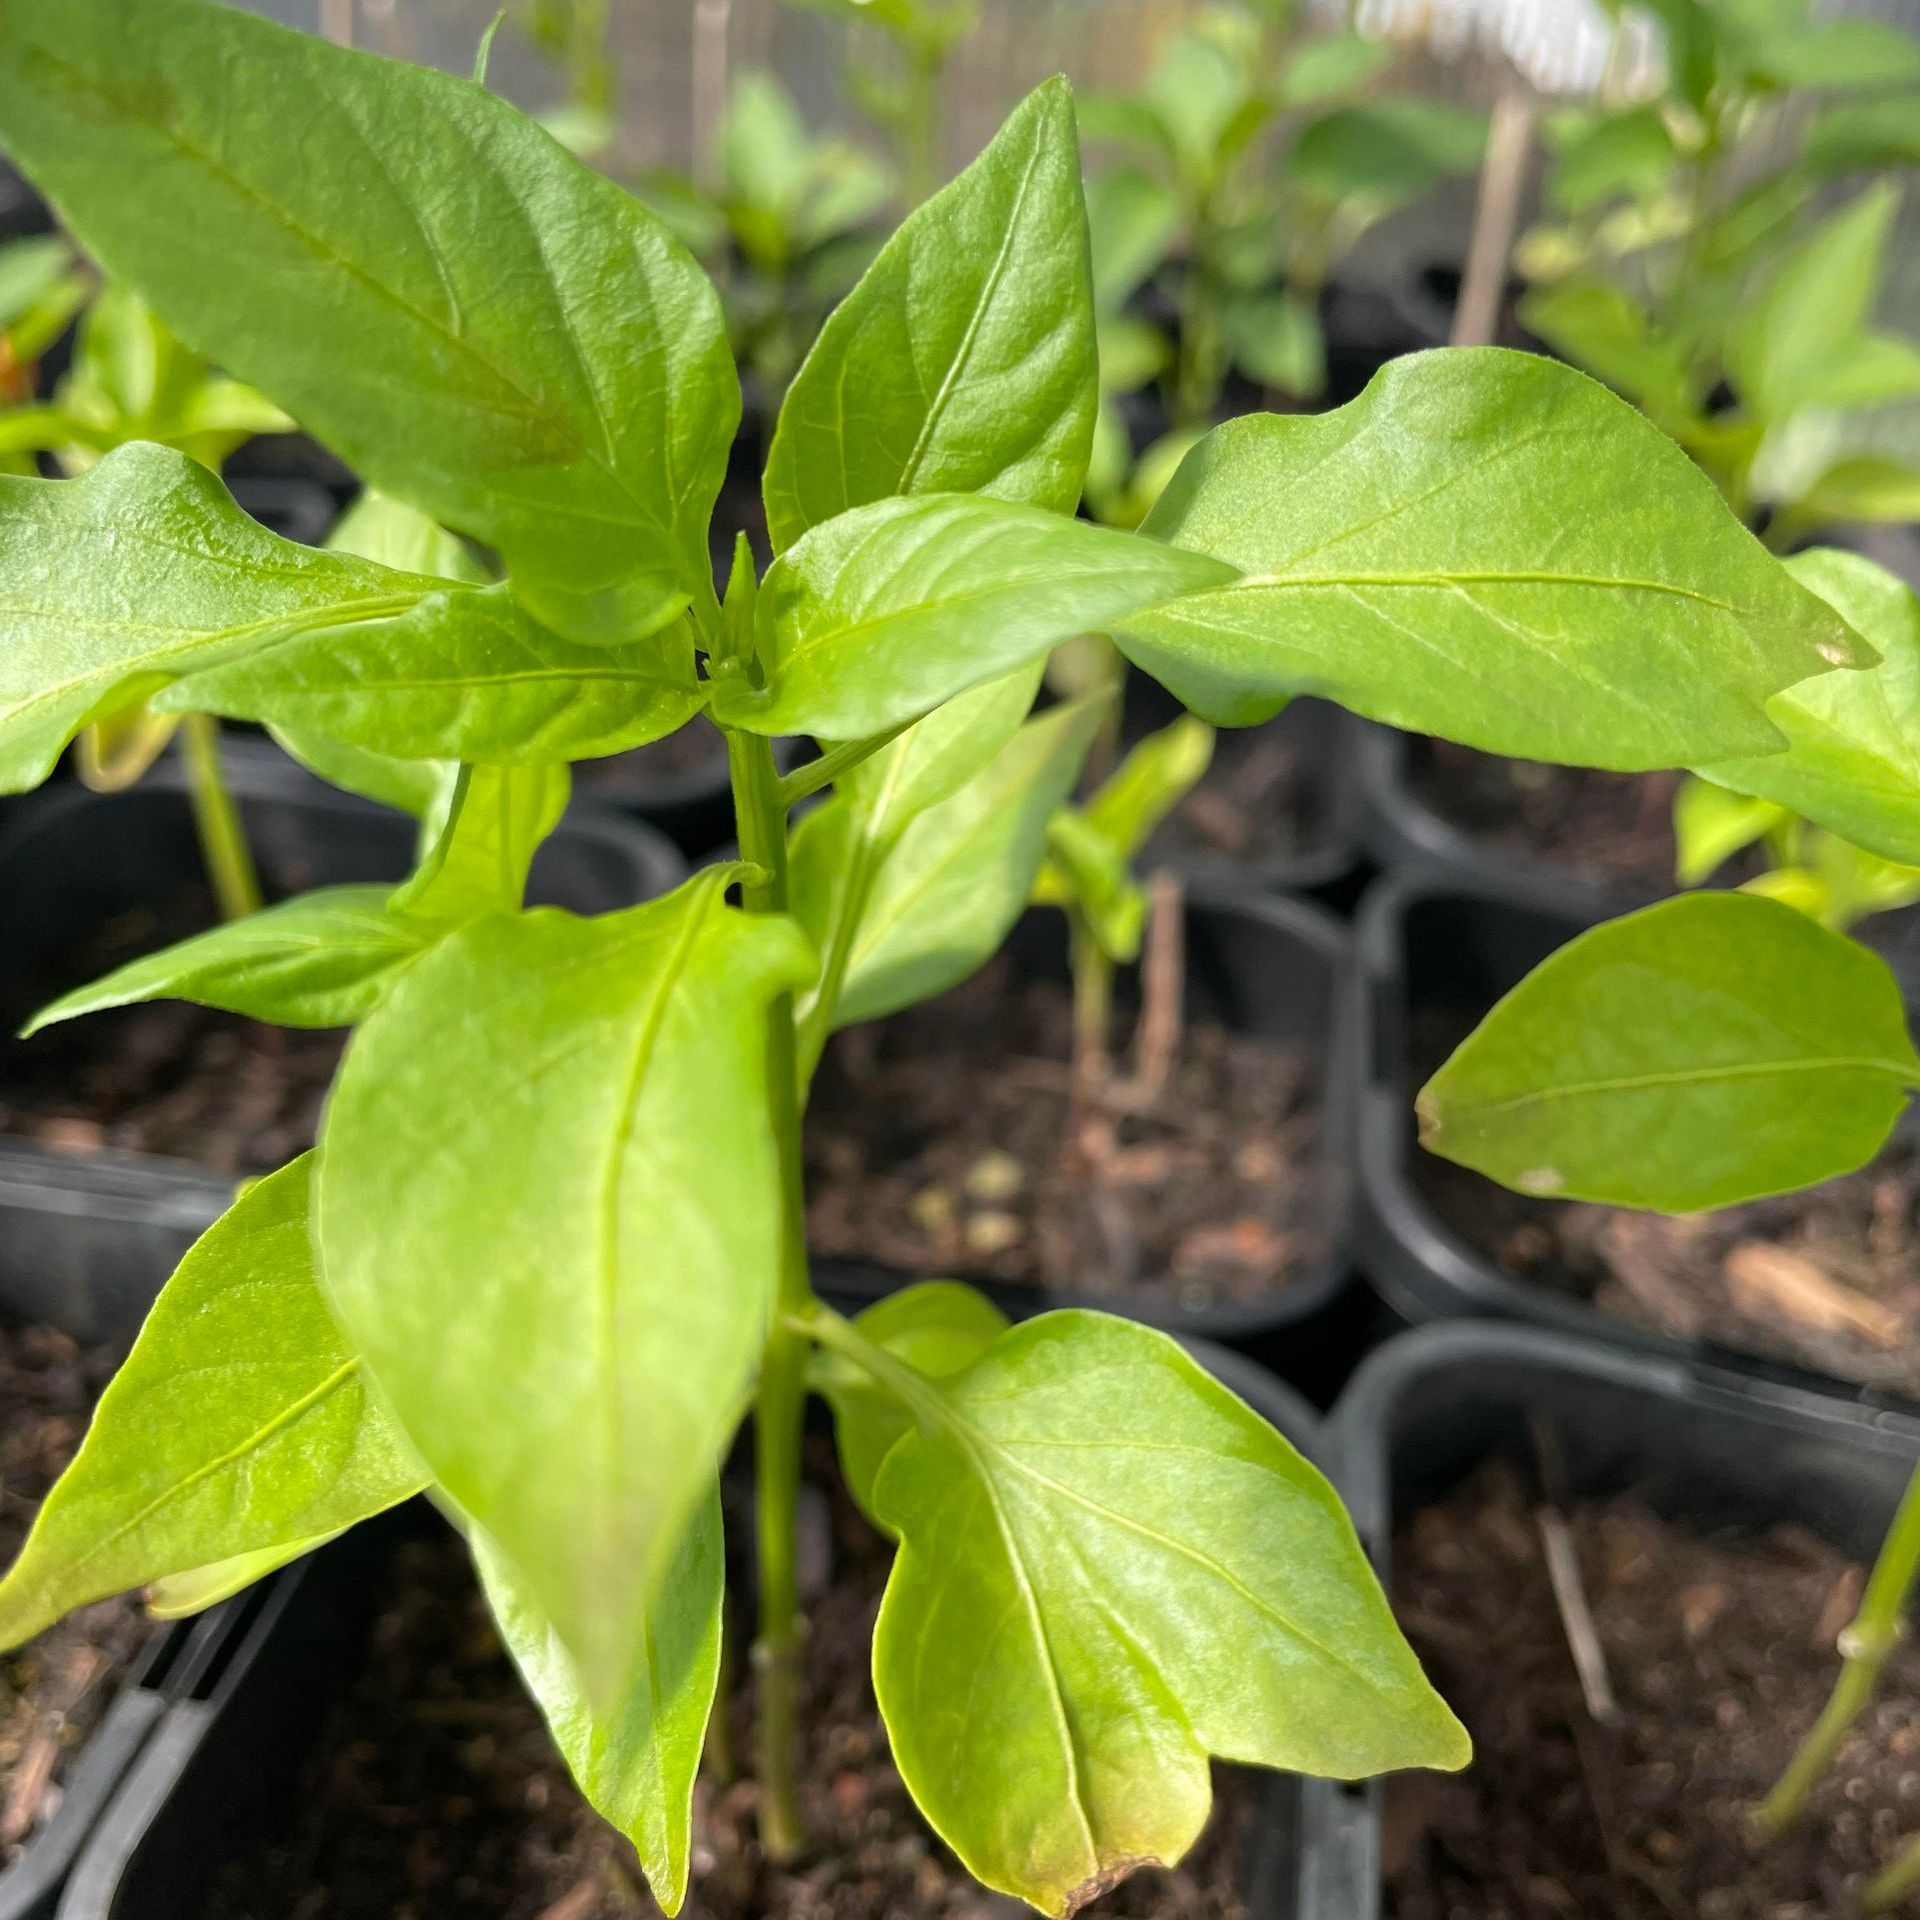
Light- Newly germinated seedling will grow long, leggy, and weak if left on a windowsill or veranda where they only get light from one direction. Place in an area where they get overhead light.
Soil conditions- Soil for germinating seeds needs to be lightweight and free draining but able to hold moisture. If buying a bagged soil look for seed raising mix opposed to potting mix, or if planting in the ground ensure soil has been improved with organic matter such as compost and the topsoil is finely raked, sieve a light dusting of sand to cover small seeds such as carrots.
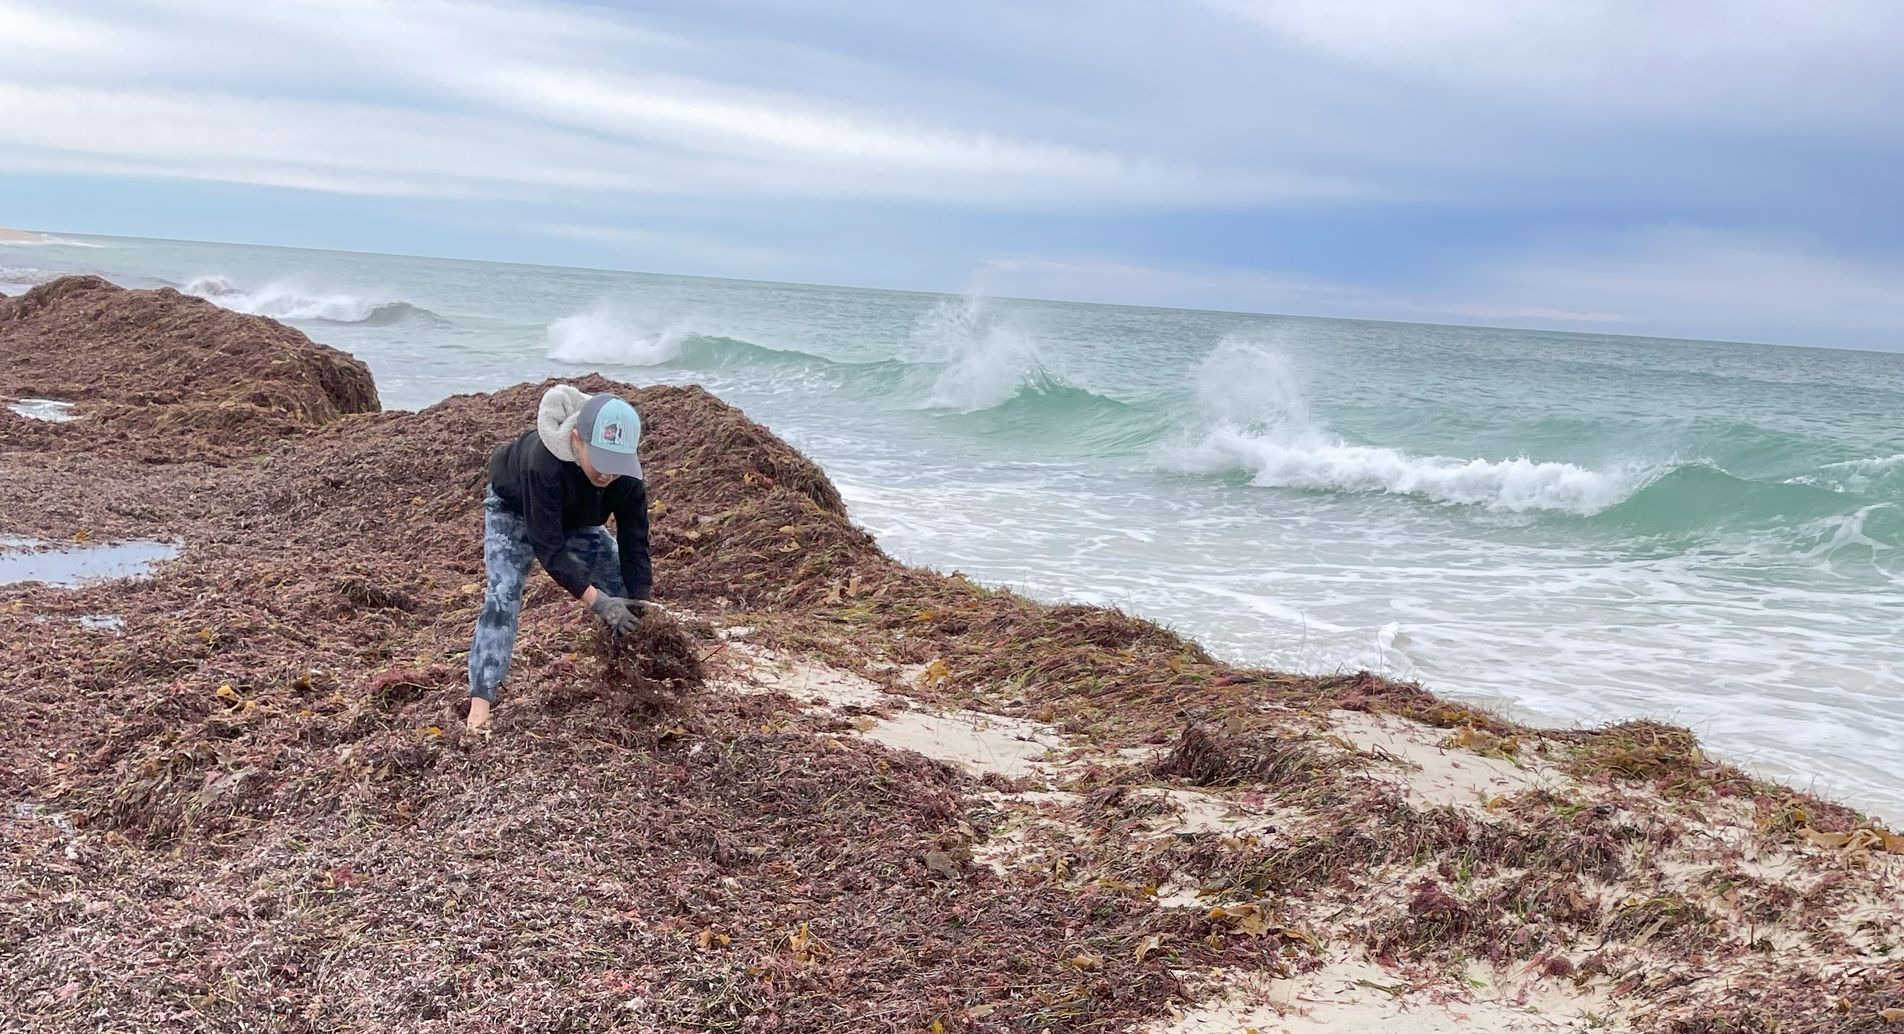
When buying seeds – Buy local! Many seeds are imported from overseas, however if you can source locally grown Australian seed, you will be growing seed that has had a chance to adapt to the climate and conditions.