Super Dooper Greens Powder
How to preserve the green goodness from your garden!
I have seen greens powder in health food stores and was rather surprised to see that people would pay around $50 - $60 for a tiny tub of dehydrated powdered vegetables, some were even padded out with things like rice bran. I am a big believer in eating unprocessed whole foods, however I can see the benefits in adding things like this to your diet to boost your nutrient intake, especially if you or your children have sensory issues around certain foods. My son will try most foods; he will chew leafy greens but swallowing them is a different issue! I remember struggling with certain textures when I was younger too, now I eat anything, except peas…creepy little buggers! Any way it was whilst discussing how he would love to eat custard every dinner time and I said it wouldn’t be too healthy, he suggested we make the green powder like we saw in the shop and add it to custard…but no we are still not having green custard for dinner every night!
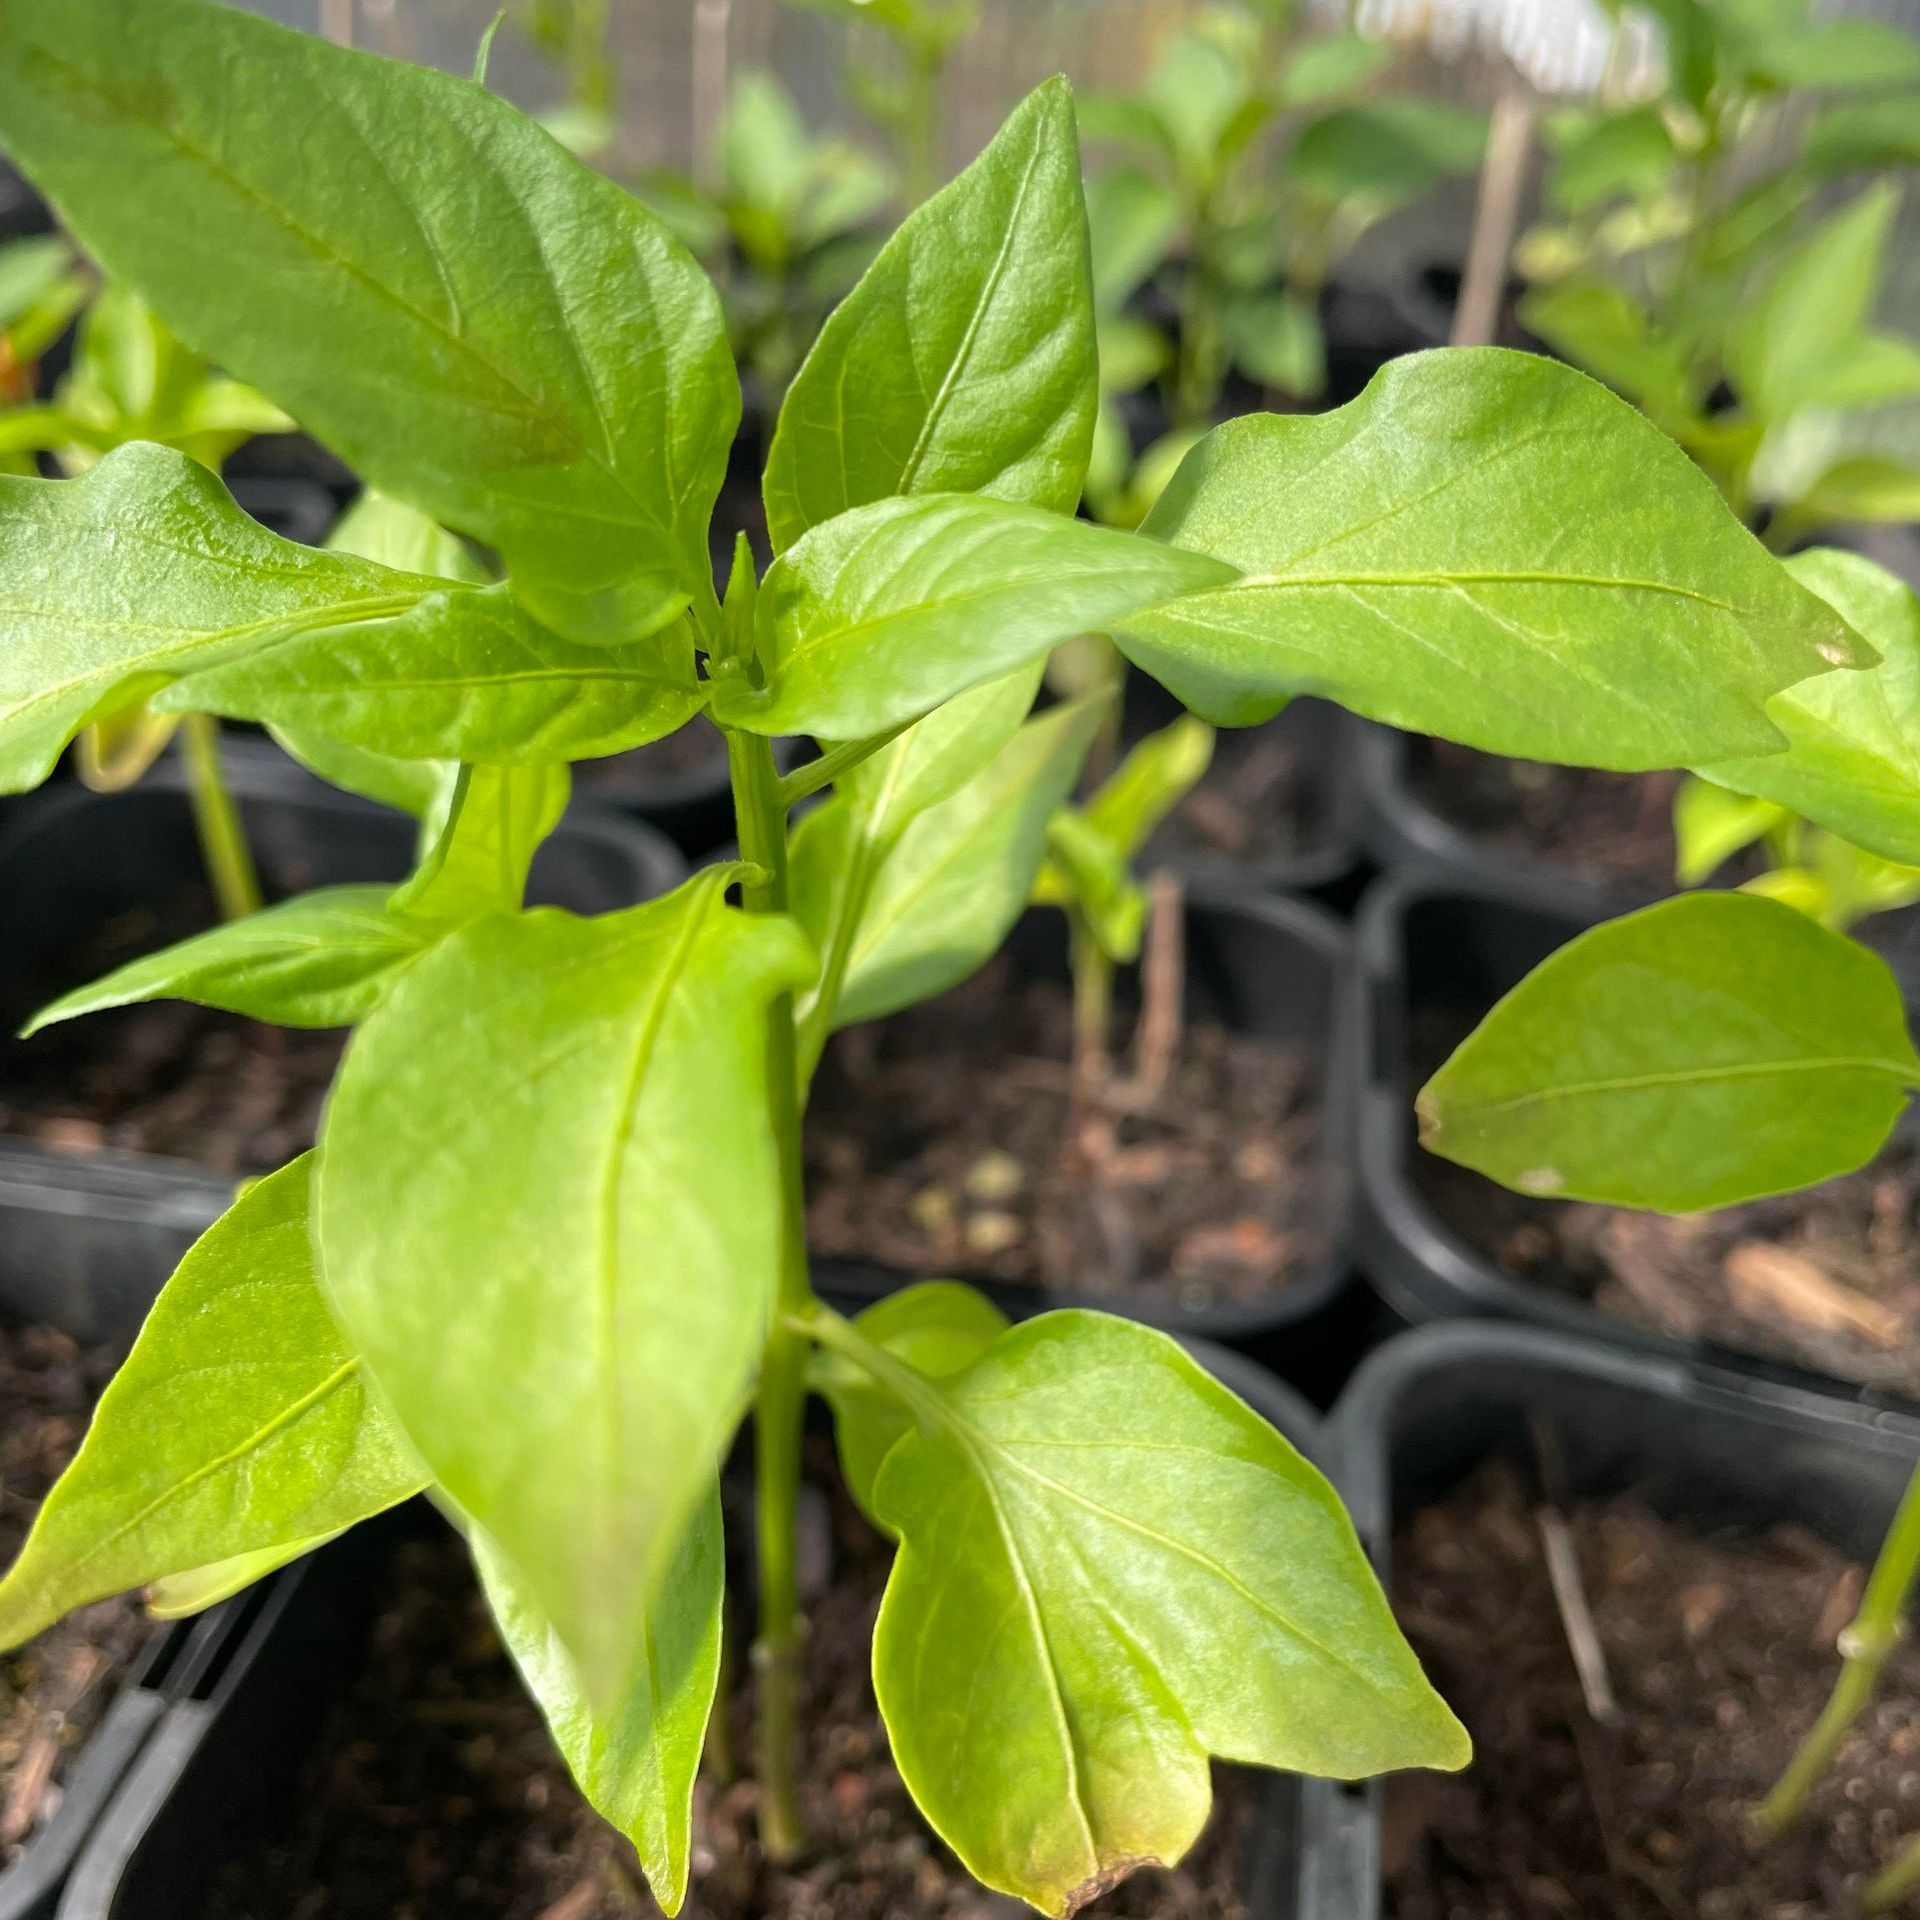
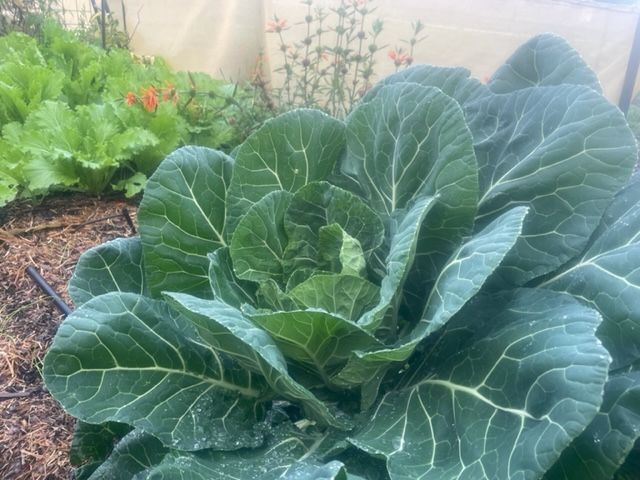
You could use any leafy greens and herbs; we used mainly collard greens because they are growing profusely to the point even the chickens cannot eat enough to keep up with production. If you grow medicinal herbs, you could even make your own blend suited to your needs. The thickness of your leaves will determine how long they need to be dehydrated for.
- First rinse your greens
- Dry the greens and remove any thick stems.
- Chop the leaves, the smaller the better as this will help you get more on to each tray.
- Place the greens on a dehydrator tray and dehydrate on the lowest heat setting anywhere between 10-24 hours until they are totally dry, crisp and crumble in your hand.
- Remove the greens from the dehydrator and grind them in batches in a blender or food processor until they form a fine powder, we found the gadget that is used to make purees on our food processor the most effective.
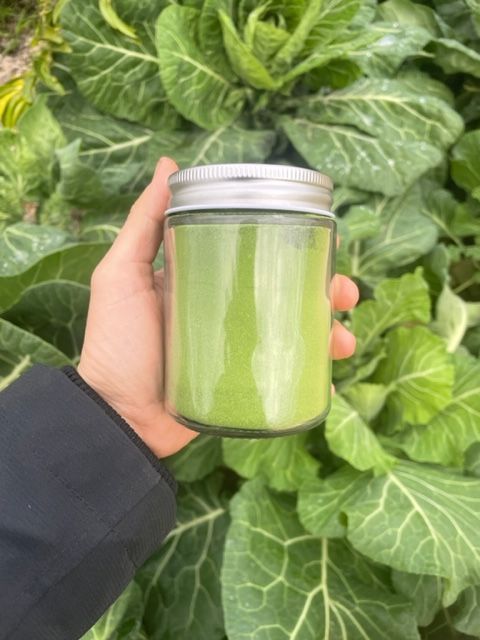
- Store the powder in an airtight container for future use in meals, smoothies, baking or even custard!
Our 9-tray dehydrator was fully packed with chopped greens when we started, and it resulted in a jar and a half of powder (300 ml jars)
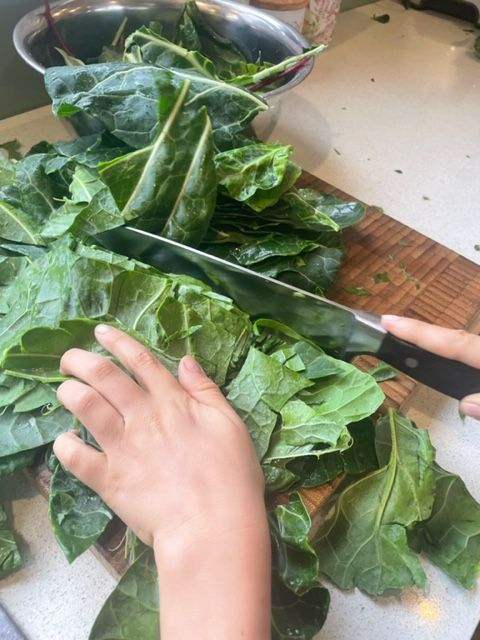
chop
Photo By: Laura Blishen
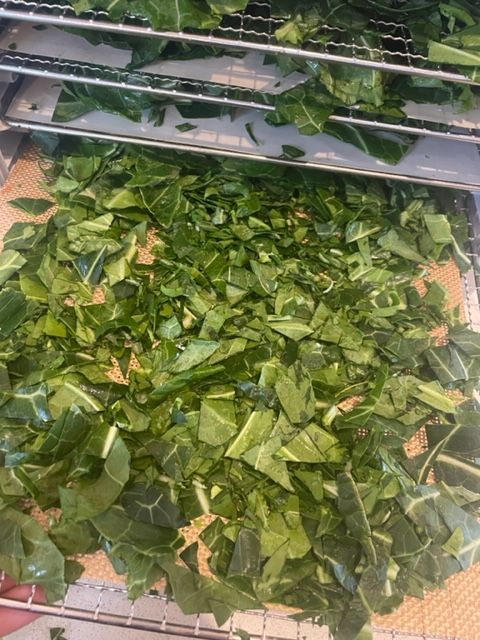
dehydrate
Photo By: Laura Blishen
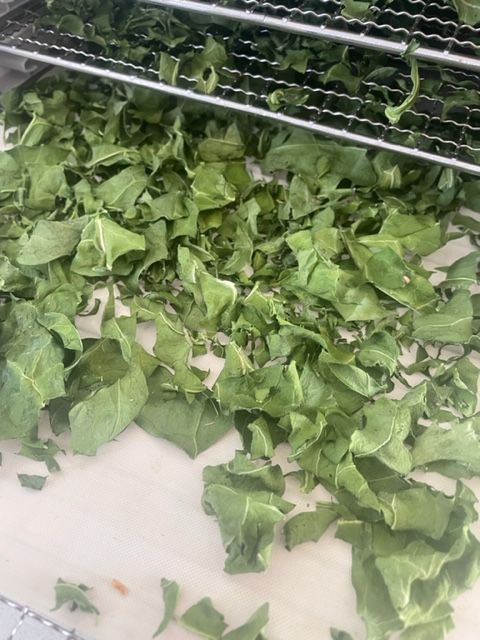
Dried greens
Photo By: Laura blishen
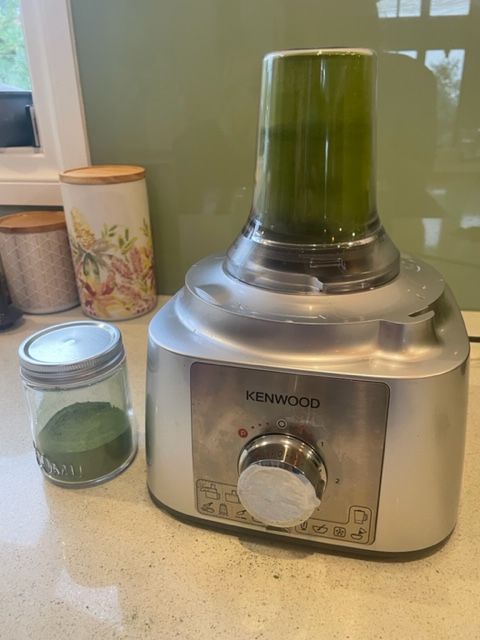
Blend
Photo by: Laura blishen