Thrive sustainability

An introduction to seed saving

Laura Blishen • September 13, 2023

Saving seeds from your garden can be a rewarding experience and an excellent life skill to learn and pass on to younger generations. It can also help you save money in the long run. If you save a few varieties each year, those crops will be self-sustaining, and you will truly be on your way to growing a self-sufficient garden. Allowing plants to self-seed can also be an easy way to save time and money.

Seed security/food security is another important reason to consider saving seeds. Do a little research and you will find that much of the seed sold to not only to farmers but also home gardeners are produced overseas. This long-convoluted supply chain puts us in a very vulnerable position. By saving seeds from plants that thrive in your garden and climate, you can produce plants that are resilient to your conditions and help preserve heirloom varieties that might otherwise not be available in the future.

Before we delve into seed saving it is helpful to understand the meaning of these commonly used and often misunderstood terms.

• Open pollinated seeds are seeds that are produced by natural pollination of plants of the same variety. They can be saved and will grow true to type year after year.

• Heirloom seeds are a subset of open pollinated seeds that have been passed down for generations and have historical or cultural significance. They are also non-GMO and have diverse traits and flavours.

• Hybrid seeds are seeds that are produced by cross pollination of two plants of the same species, but different varieties. They are often bred for specific traits such as disease resistance or uniformity. They cannot be saved reliably as they may not inherit the desired traits from their parents.

• GM (genetically modified) seeds are seeds that have been altered by inserting genes from other organisms using biotechnology. They are often designed for herbicide tolerance, insect resistance or enhanced nutrition. They are controversial due to potential environmental and health risks.

• Treated seeds are seeds that have been coated with some type of fungicide, pesticide, or chemical preservative to protect them from pests, diseases, and spoilage. Untreated seeds are seeds that have not been treated in any way and are natural and will not contain chemical residue.

Seeds you purchase from Thrive Sustainability are Open pollinated and in some cases Heirloom. We DO NOT sell Hybrid, GM, or treated seed.


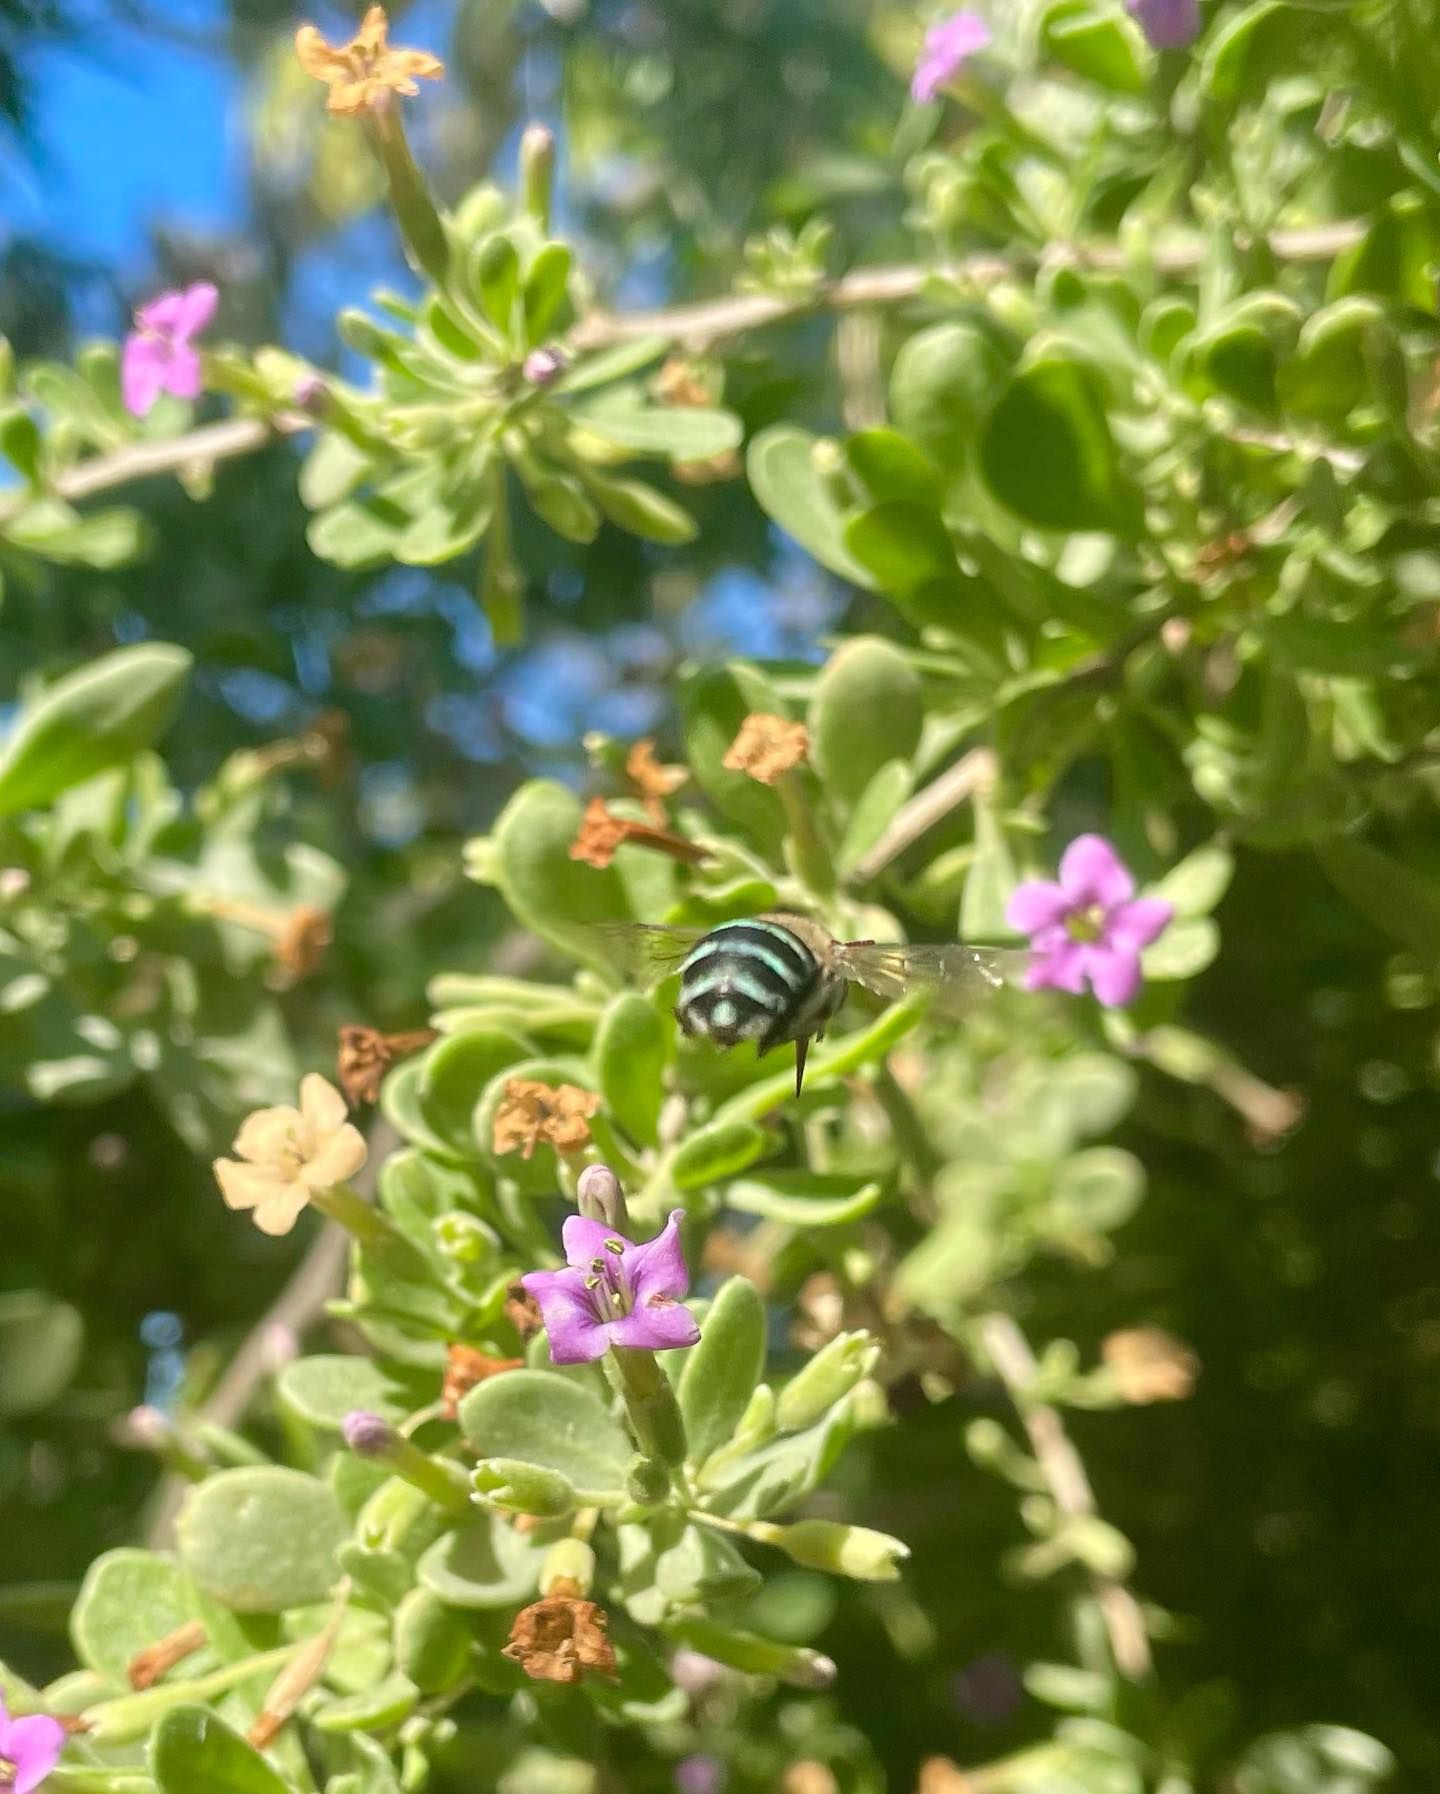
Before saving seeds from your plants, it’s important to research how the variety is pollinated. There are two main ways of pollination in vegetables: self-pollination and cross-pollination. Self-pollination occurs when a flower is fertilized by its own pollen, this can happen by the slightest vibration or breeze. Cross-pollination occurs when a flower is fertilized by pollen from another flower, usually with the help of insects or wind. Some vegetables need to be pollinated by a flower from another plant. Brassica oleracea (Cabbage, Broccoli, Cauliflower, Brussel sprouts) are self-incompatible. Cucurbits (Cucumbers, zucchini, melon, pumpkin and squash) will produce separate male and female flowers.

Where to start

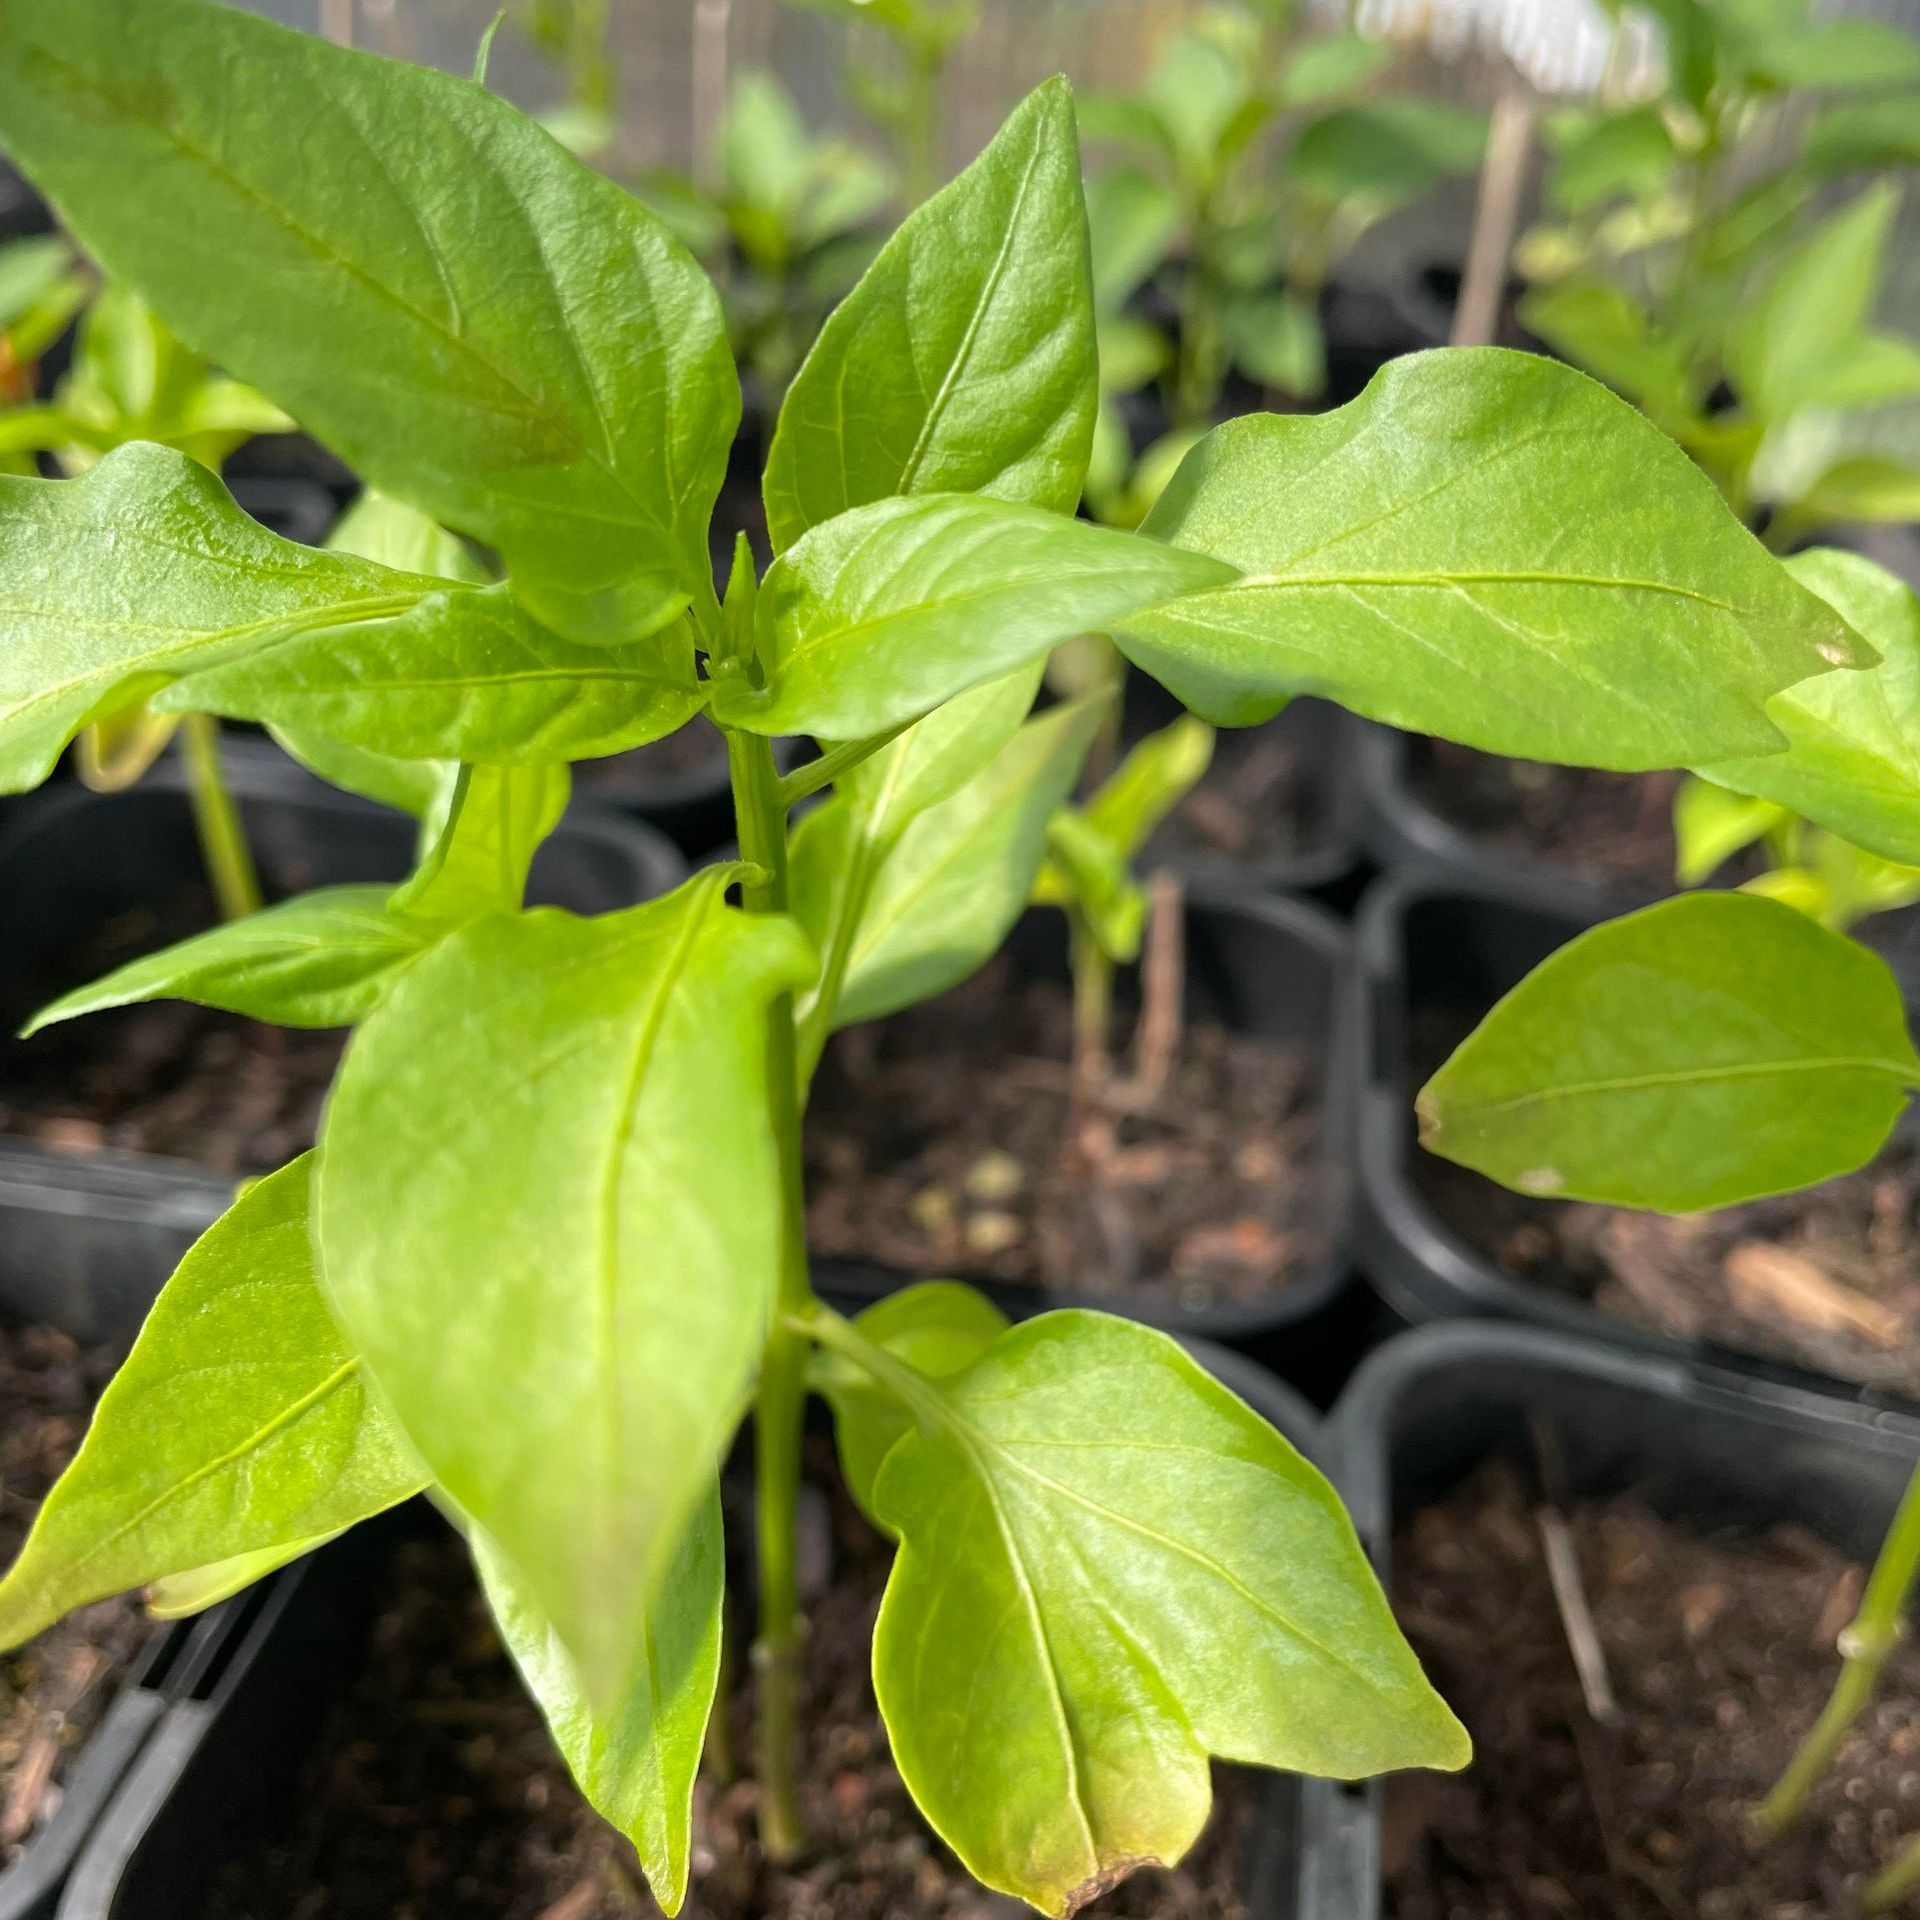
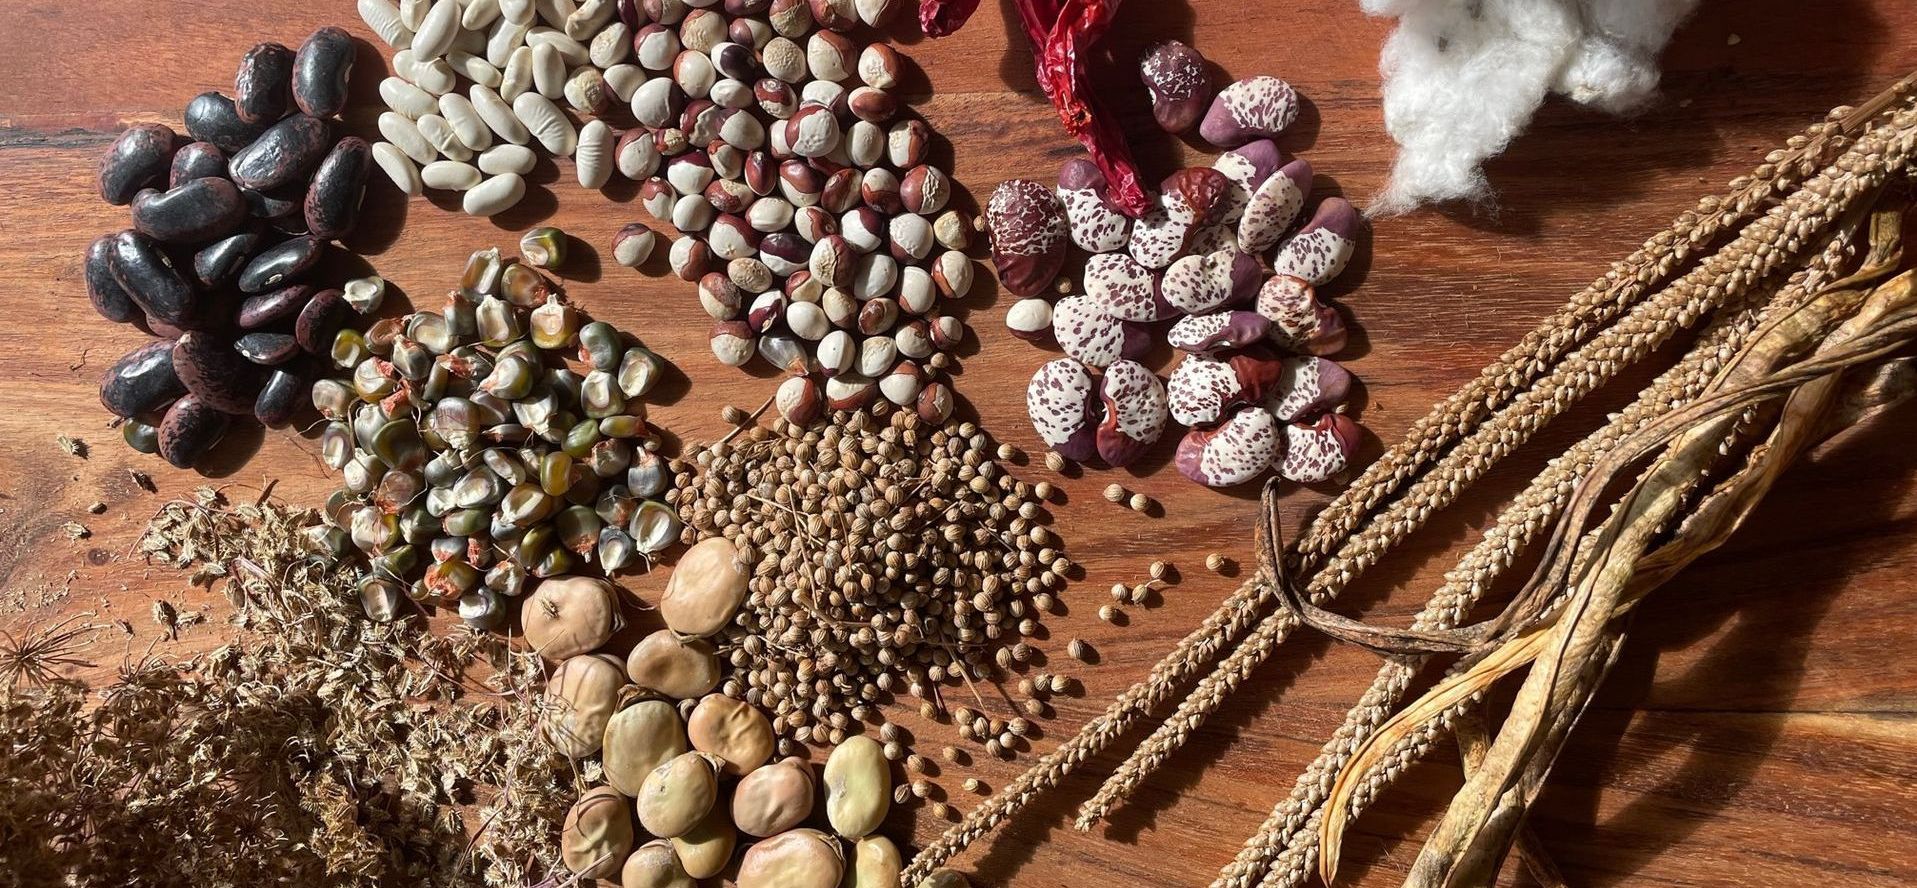
Vegetables that have self-pollinating flowers and are annuals are the easiest to save seeds from and a good place to start. Beans including snake bean and broad beans, Chilli, Capsicum, Lettuce, Peas are Tomatoes are varieties that are simple for home gardeners to start with. Beans and pea flowers are self-pollinated before the flower opens. If you don’t have time to save, process and dry seed, let nature do its job and let your garden self-seed.


Keeping seed pure

Remember to remove any weeds that may cross pollinate with the crop you are saving from for example Queen annes lace will cross with carrots, wild radish that is a common weed in paddocks with cross with your garden varities of radish. Stagger planting so crops are flowering at a different time (We grow 3 different crops of corn a year but ensure several weeks are left between sowing). Bag Flower buds – For self-pollinating crops such as tomato or cage the plant or row Researching your plants family and understanding what vegetables will cross pollinate with one another.

Cleaning the seed

Wet cleaning is a seed cleaning method used for seeds encased in moist flesh, such as pumpkin seeds. Here are the steps to wet clean seeds:

• Scoop the seeds into a bowl of water.

• Rub the seeds between your fingers and pick out any large chunks of flesh.

• Pour the mixture into a sieve and rub the seeds gently against the sieve to clean off pulp.

• Rinse the seeds under running water.

• Some seeds once cleaned benefit from fermentation.

Fermenting seeds is a process that mimics the natural rotting that occurs in nature and is used for seeds encased in moist gelatinous flesh, such as those of tomatoes and cucumbers. The fermentation process removes the germination-inhibiting substance that keeps seeds dormant, leaving behind clean seeds that are suitable for saving.

Dry cleaning is a seed cleaning method used for seeds that are not encased in moist flesh such as beans, peas, carrots. The process differs with each variety but generally you can use a selection of sieves and screens to separate the seed from the debris of the seed case, stems etc. 

Winnowing can be a good way to separate the seeds from the chaff/ debris. In its simplest form, it involves throwing the mixture into the air so that the wind blows away the lighter chaff, while the heavier seed fall back down to the basket/ bowl, the process can take a little trial and error and be sure not to do it on a really windy day as you will loose the lot! We also use a system where we pour the mixture in front of a desk fan into a bucket below, the seed falls down and the debris blows further afield this can be done in a shed with a large sheet laid out so if you make a mistake and set the fan too high your seed won’t be lost.

Store seeds in a cool, dark, and dry place, such as a glass jar with a tight lid in the fridge or cool room in the house. Label your seeds with the name, variety, and date of collection. Re use the little moisture absorbing sachets you often get in packaging/ shoe boxes in your seed collection in case any damp gets into the box.

So, this year why don't you take a small step towards self-sufficiency and have a go at saving seeds, get together with friends and other members of your community and swap seeds. If you get really keen, we would love to hear from you as we are always looking for local WA based seed growers to supply Pure, open pollinated seed. If you are interested and are in the position where you can grow on a larger scale and ensure seed quality and purity, please email us at info@thrivesustainability.com.au


By Laura Blishen November 15, 2024
Australia's unique ecosystems are home to a variety of insects that play vital roles in maintaining healthy gardens. Beneficial insects play 3 important roles in the veggie patch. Pollinators : These insects pollinate flowers and without them growing fruit and vegetables would be almost impossible. Examples include bees, butterflies, flies, and moths. Predators: These insects eliminate pests by eating them. Examples include ladybugs, praying mantids, and green lacewing larvae. Parasitoids : These insects lay their eggs on or inside other insects, which then become food for the developing larvae. Examples include wasps and flies. Pictured below: Homemade bee hotels, blue banded bee's, Lacewing egg on a mulberry fruit.
By Laura Blishen October 11, 2024
Raising your own vegetable seedlings from seed saves money, allows you to source interesting varieties that may not be available in punnets from your local garden centre and can grow as much as you need and practice successional planting. Sowing and germinating the seeds is the first step (for more tips on this see our seed raising guide here) Getting the seeds to pop their little heads up is the first challenge, but many people find once they get the seedlings past the stage where adult leaves are forming, they encounter problems. Common issues include Damping off, a fungal disease, that can cause seedlings to collapse and die suddenly. Leggy seedlings result from insufficient light, leading to weak, elongated stems. Yellowing leaves can indicate nutrient deficiencies or overwatering. Pest infestations, such as tiny fungus gnats flying around seedlings and infesting soil, can damage young plants. Mold growth in seed trays is another issue, often due to excessive moisture and poor air circulation. The following conditions are crucial for growing healthy, robust seedlings. Optimal Lighting and Temperature Seedlings need plenty of light to grow strong. Long, leggy, stretched seedlings are a result of insufficient light. If starting seeds inside on a windowsill once they have germinated, you need to get them outside in natural light, if the weather is cold a greenhouse or cold frame is useful, most commonly in Perth at this time of year the issue may be getting a hot sunny day that fry’s your little seedlings whilst you are at work; in this case placing them under the dappled shade of a tree or creating a little shelter with 30 – 40% shade cloth is ideal. If putting them outside before planting out is not practical or in the case of starting plants such as chillis and capsicums early when the weather is still cold, use grow lights for 12-16 hours a day. When using lights, I have constructed a reflective surround using corflute and kitchen foil that sits around the seedling trays to help the light distribute evenly. For most vegetables maintaining a temperature between 18-24°C is suitable to encourage healthy growth. Watering and Humidity Keep the soil consistently moist but not waterlogged. Signs of overwatering can be yellowing leaves or an infestation of fungus gnats. How often seedlings are watered will depend on temperature and situation, but they will generally need watering once, or twice daily. Good Air Circulation Ensure there is adequate airflow around your seedlings. If growing in a greenhouse open windows and doors during the day or use a small fan to gently circulate air, which helps prevent the humid conditions that fungus gnats, fungi that causes damping off and mould thrive in. Fertilising Once seedlings have their first true adult leaves, start feeding them with a diluted, balanced fertilizer. Be careful to use the right dilution as fertiliser that is too strong can burn and damage young seedlings; a weaker solution is needed for seedling than mature plants and shrubs. I feed potted seedlings weekly, until they are a good size to plant out in the vegetable patch. Mark it in your diary or calendar so you remember to keep to the schedule! Seaweed solutions can be useful to prevent transplant shock and stress, but they are not a fertiliser and will not provide adequate nutrients to young growing plants. We make our own liquid fertilisers using weeds, manures and compost. Verigrow is also an excellent locally made fertiliser that we use occasionally. Regular pest check Small seedlings can quickly be decimated by pests due to their small size and in isolated areas such as greenhouses you won’t have small birds doing the pest patrol for you! Make a point of inspecting your seedlings closely a couple of times a week so you can address any problems before they reach plague proportions.
By Laura Blishen September 18, 2024
Learn how to save seeds from your favourite open pollinated Tomato, Chilli and Capsicum varieties.
By Laura Blishen September 18, 2024
Recent WA Ban on Tomato, Capsicum, and Chilli Seeds imports.
By Laura Blishen August 12, 2024
Seaweed tea: Fill a bucket or bin with seaweed and add water. The seaweed should be submerged. You can add seaweed loose or if you have one you can use a mesh bag (the type of sacks used for onions) or make your own tea bag out of some old scraps of shade cloth. Rainwater is best but if you are using treated tap water you can leave tap water in an open container for 1 to 5 days before using and some of the chlorine will naturally dissipate into the air. Place the bucket in a shady area, the brew will get a bit stinky so place in an out of the way spot where it will not bother you. Cover the bucket loosely with a lid so animals can’t get in and so any rain does not overfill and dilute the brew, but so that air can still circulate. Let it soak for at least 8 weeks or up to 6 months. The longer it brews, the more nutrient-packed it becomes. At the start the seaweed will break down using aerobic digestion, giving it a daily stir for the first few weeks will speed the process up or if you get serious with your brewing you can attach an aquarium pump, as the tea starts going into the anaerobic stage of decomposition it will get pretty stinky, this is all normal. A good indicator that the tea has finished this process is that the tea will stop smelling. The tea will brew quicker in warmer weather and be slower in the winter months. Strain the Tea: Pour the seaweed tea through a sieve or strainer into another bucket. This removes any remaining seaweed bits. Add any leftover seaweed sludge in to the compost. Using the Seaweed Tea: Dilute the seaweed tea with water (usually 1:10 ratio) and use it to water your plants. Apply it at the root zone or as a foliar spray.
By Laura Blishen June 6, 2024
Ward of winter ills, make use of nature's pharmacy and utilize an ingredient that is often seen as kitchen waste.
By Laura Blishen June 5, 2024
This is a subtitle for your new post
By Laura Blishen May 16, 2024
A guide to growing an abundant supply of lettuce and leafy greens in your patch.
By Laura Blishen April 18, 2024
With a little prepping and planning winter can be the easiest and most productive season to grow food.
By Laura Blishen February 20, 2024
Sweet Beets for burgers, salads and more!
More Posts
Share by: