Thrive sustainability

Controlling White-Fly Organically

Laura Blishen • October 3, 2018

White-fly are closely related to sap-sucking aphids. The adults look like tiny, white moths, Eggs are laid on the undersides of leaves and hatch within 8 days. Both newly hatched 'crawlers' and adults feed by sucking the sap from the underside of the leaf. They also excrete 'honeydew' which can cause problems with black sooty mould

Unfortunately, over-use of pesticides will kill of white-fly's natural predators. One study has even demonstrated an increased white-fly reproductive capacity when sprayed with certain insecticides

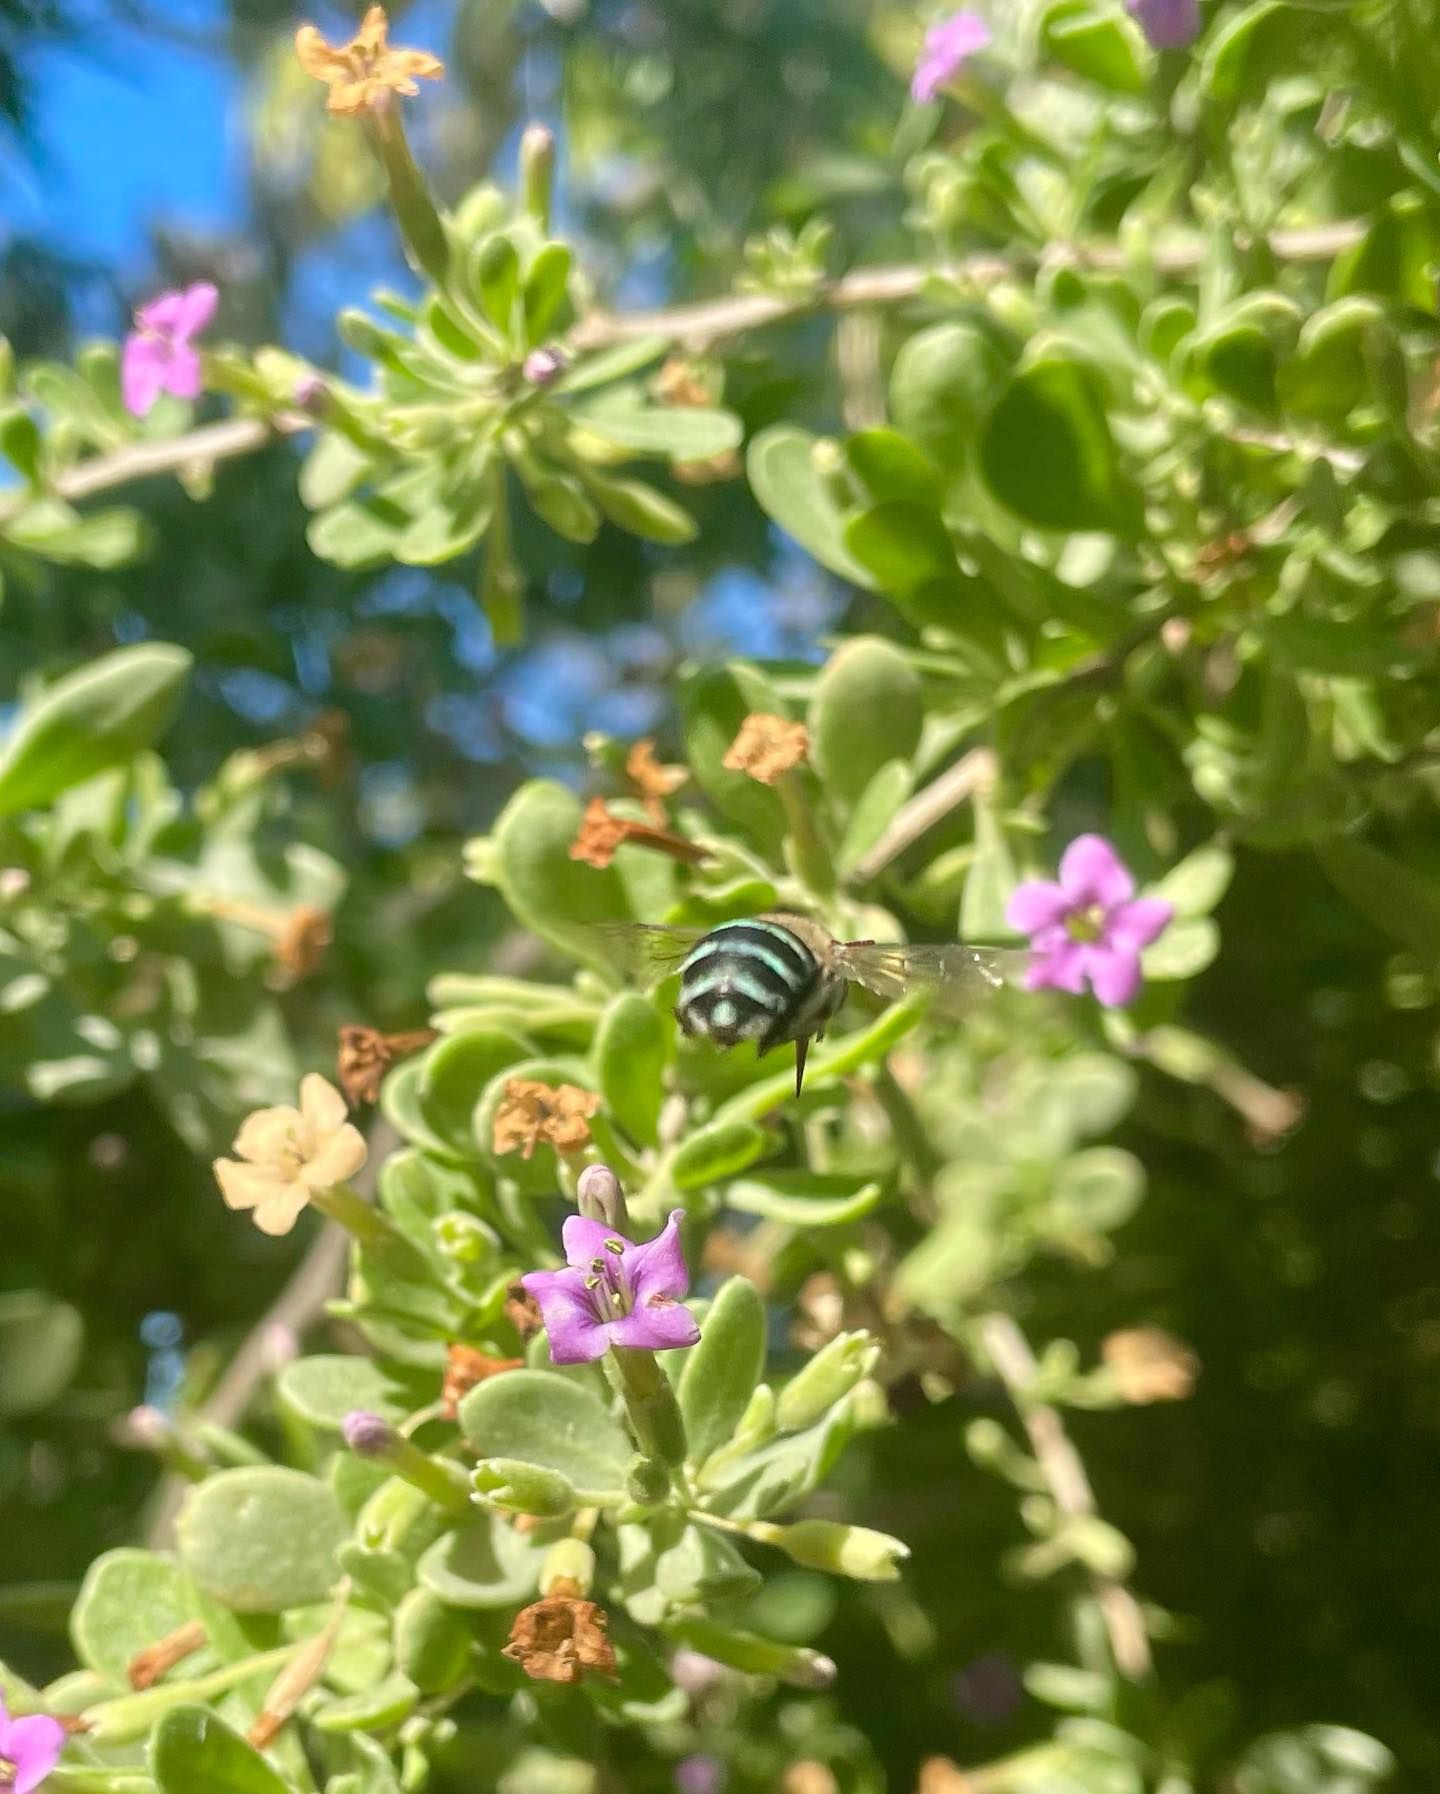
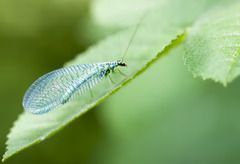
Natural enemies of white-fly include small birds, spiders, lacewings, hoverflies, ground beetles and damsel bugs. The adults and larvae of some ladybirds also feed on white-flys

Below: A lacewing - natural predator of white-fly

Thrive sustainability

What can we do to reduce damage to our crops?

  • Avoid planting crops such as brassicas in blocks/rows, white-fly and many other pests use their sense of smell to locate plants, inter-planting not only throws them off the scent but if a plant is invested the infestation is smaller and isolated to one plant thus easier to treat, we have brassicas dotted around the garden- some amongst perennial flowers that also attract beneficial insects such as lacewings as a result we have broccoli and kale that has remained productive over several growing seasons and even when white-fly has found them it has not got out of control.
  • White-fly breed quicker and tend to pose more of a problem in hotter months so if they are an issue in your garden plant brassicas in the autumn and remove plants in the summer if the infestation gets out of hand.
  • Stressed plants are more susceptible to attack and less resilient – Ensure plants are growing in healthy well-fed soil and receive adequate water.
  • Vacuuming in the early morning (when white-flies are cold and slow moving) can remove many of the adults before they have a chance to lay many eggs
  • Use insect exclusion netting over susceptible crops, you must ensure plants are free of pests before covering.
  • Organic products such as Eco- oil and Eco – neem can help control outbreaks when used correctly -Ensure spray is applied to all areas especially underside of leaves where eggs are laid. Research undertaken in New Zealand on neem's effectiveness for whitefly found that it had a major impact by preventing the 'nymph' stage from developing into an adult; the nymphs tend to disappear from the treated plants. Eco oil is safe for ladybirds and beneficial insects it has an enhanced formulation which helps to attract beneficial insects into the garden.

We have Eco-oil, Eco-neem and insect exclusion netting available at The Edible Gardens Nursery @ 48 Citron Way, Lower Chittering we are open 9-5 Wed, Fri and Sat

By Laura Blishen November 15, 2024
Australia's unique ecosystems are home to a variety of insects that play vital roles in maintaining healthy gardens. Beneficial insects play 3 important roles in the veggie patch. Pollinators : These insects pollinate flowers and without them growing fruit and vegetables would be almost impossible. Examples include bees, butterflies, flies, and moths. Predators: These insects eliminate pests by eating them. Examples include ladybugs, praying mantids, and green lacewing larvae. Parasitoids : These insects lay their eggs on or inside other insects, which then become food for the developing larvae. Examples include wasps and flies. Pictured below: Homemade bee hotels, blue banded bee's, Lacewing egg on a mulberry fruit.
By Laura Blishen October 11, 2024
Raising your own vegetable seedlings from seed saves money, allows you to source interesting varieties that may not be available in punnets from your local garden centre and can grow as much as you need and practice successional planting. Sowing and germinating the seeds is the first step (for more tips on this see our seed raising guide here) Getting the seeds to pop their little heads up is the first challenge, but many people find once they get the seedlings past the stage where adult leaves are forming, they encounter problems. Common issues include Damping off, a fungal disease, that can cause seedlings to collapse and die suddenly. Leggy seedlings result from insufficient light, leading to weak, elongated stems. Yellowing leaves can indicate nutrient deficiencies or overwatering. Pest infestations, such as tiny fungus gnats flying around seedlings and infesting soil, can damage young plants. Mold growth in seed trays is another issue, often due to excessive moisture and poor air circulation. The following conditions are crucial for growing healthy, robust seedlings. Optimal Lighting and Temperature Seedlings need plenty of light to grow strong. Long, leggy, stretched seedlings are a result of insufficient light. If starting seeds inside on a windowsill once they have germinated, you need to get them outside in natural light, if the weather is cold a greenhouse or cold frame is useful, most commonly in Perth at this time of year the issue may be getting a hot sunny day that fry’s your little seedlings whilst you are at work; in this case placing them under the dappled shade of a tree or creating a little shelter with 30 – 40% shade cloth is ideal. If putting them outside before planting out is not practical or in the case of starting plants such as chillis and capsicums early when the weather is still cold, use grow lights for 12-16 hours a day. When using lights, I have constructed a reflective surround using corflute and kitchen foil that sits around the seedling trays to help the light distribute evenly. For most vegetables maintaining a temperature between 18-24°C is suitable to encourage healthy growth. Watering and Humidity Keep the soil consistently moist but not waterlogged. Signs of overwatering can be yellowing leaves or an infestation of fungus gnats. How often seedlings are watered will depend on temperature and situation, but they will generally need watering once, or twice daily. Good Air Circulation Ensure there is adequate airflow around your seedlings. If growing in a greenhouse open windows and doors during the day or use a small fan to gently circulate air, which helps prevent the humid conditions that fungus gnats, fungi that causes damping off and mould thrive in. Fertilising Once seedlings have their first true adult leaves, start feeding them with a diluted, balanced fertilizer. Be careful to use the right dilution as fertiliser that is too strong can burn and damage young seedlings; a weaker solution is needed for seedling than mature plants and shrubs. I feed potted seedlings weekly, until they are a good size to plant out in the vegetable patch. Mark it in your diary or calendar so you remember to keep to the schedule! Seaweed solutions can be useful to prevent transplant shock and stress, but they are not a fertiliser and will not provide adequate nutrients to young growing plants. We make our own liquid fertilisers using weeds, manures and compost. Verigrow is also an excellent locally made fertiliser that we use occasionally. Regular pest check Small seedlings can quickly be decimated by pests due to their small size and in isolated areas such as greenhouses you won’t have small birds doing the pest patrol for you! Make a point of inspecting your seedlings closely a couple of times a week so you can address any problems before they reach plague proportions.
By Laura Blishen September 18, 2024
Learn how to save seeds from your favourite open pollinated Tomato, Chilli and Capsicum varieties.
By Laura Blishen September 18, 2024
Recent WA Ban on Tomato, Capsicum, and Chilli Seeds imports.
By Laura Blishen August 12, 2024
Seaweed tea: Fill a bucket or bin with seaweed and add water. The seaweed should be submerged. You can add seaweed loose or if you have one you can use a mesh bag (the type of sacks used for onions) or make your own tea bag out of some old scraps of shade cloth. Rainwater is best but if you are using treated tap water you can leave tap water in an open container for 1 to 5 days before using and some of the chlorine will naturally dissipate into the air. Place the bucket in a shady area, the brew will get a bit stinky so place in an out of the way spot where it will not bother you. Cover the bucket loosely with a lid so animals can’t get in and so any rain does not overfill and dilute the brew, but so that air can still circulate. Let it soak for at least 8 weeks or up to 6 months. The longer it brews, the more nutrient-packed it becomes. At the start the seaweed will break down using aerobic digestion, giving it a daily stir for the first few weeks will speed the process up or if you get serious with your brewing you can attach an aquarium pump, as the tea starts going into the anaerobic stage of decomposition it will get pretty stinky, this is all normal. A good indicator that the tea has finished this process is that the tea will stop smelling. The tea will brew quicker in warmer weather and be slower in the winter months. Strain the Tea: Pour the seaweed tea through a sieve or strainer into another bucket. This removes any remaining seaweed bits. Add any leftover seaweed sludge in to the compost. Using the Seaweed Tea: Dilute the seaweed tea with water (usually 1:10 ratio) and use it to water your plants. Apply it at the root zone or as a foliar spray.
By Laura Blishen June 6, 2024
Ward of winter ills, make use of nature's pharmacy and utilize an ingredient that is often seen as kitchen waste.
By Laura Blishen June 5, 2024
This is a subtitle for your new post
By Laura Blishen May 16, 2024
A guide to growing an abundant supply of lettuce and leafy greens in your patch.
By Laura Blishen April 18, 2024
With a little prepping and planning winter can be the easiest and most productive season to grow food.
By Laura Blishen February 20, 2024
Sweet Beets for burgers, salads and more!
More Posts
Share by: