Thrive sustainability

Wicking Beds - a Smart Way to Grow in Perth's Climate

Laura Blishen • February 12, 2018

Wicking beds are basically containers with water reservoirs at the base. Plants are watered from below rather than above, moisture is drawn up through the soil via a process called capillary action or wicking. This allows moisture to be more evenly distributed through the soil, creating better growing conditions for the plants.

Pros

  • Uses between 40% and 50% less water than a conventional garden bed.
  • Harder for weeds to establish as the soil on the surface is drier.
  • Once established plants are quite heat tolerant due to the design encouraging the plant to put down good roots
  • Depending on the weather reservoirs only need filling every one to two weeks
  • Good for areas with set watering days/restrictions
  • Eliminates the need for time consuming hand watering or a complicated reticulation system

 Cons

  • More expensive to build than a conventional bed
  • Hard to grow vegetables from seed they will require daily hand watering from above until they have germinated and developed roots.
  • During hot weather very small seedlings with little roots will require hand watering
  • Trees and shrubs with large root systems can not be grown in a wicking bed

As the saying goes there’s more than one way to skin a cat and there are many ways and materials that can be used to construct a wicking bed but below is a step by step guide to how we have constructed the 2 wicking beds in Thrive sustainability’s home garden.

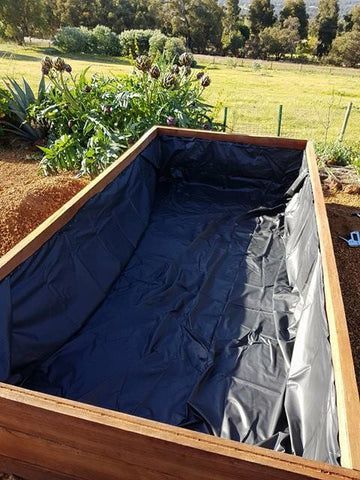
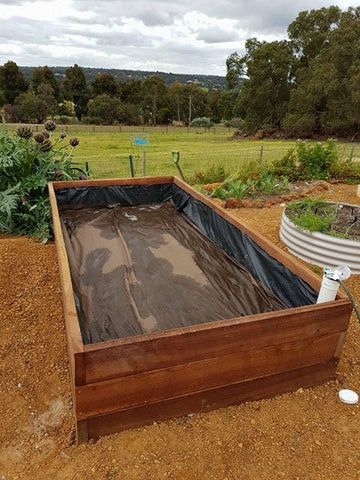
Frame built from 3.4m x 200mm jarrah sleepers with a PVC pond liner fitted, used some old carpet to line the base to prevent any sharp stones puncturing the liner.

Thrive sustainability

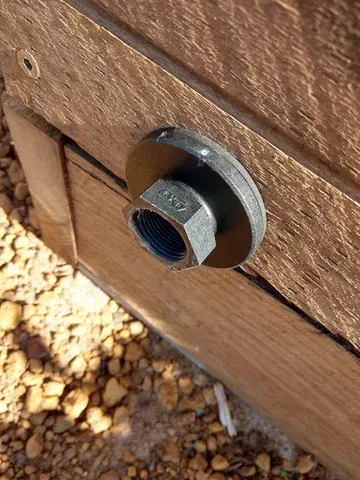
Install one 25mm tank nozzle through side wall as a drain 250mm from base 

Tank Nozzle

Drill holes along the length of a pvc pipe, fit an elbow and enough pipe to come above the finished soil level, fit a cap to prevent mosquitos and debris from entering pipe

Thrive sustainability

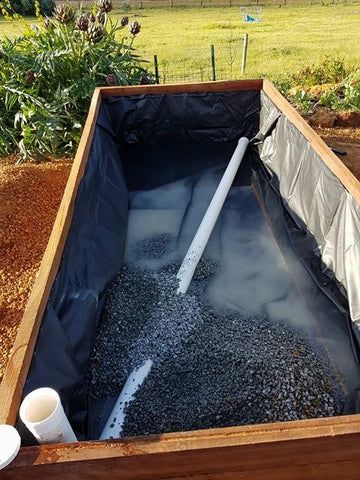
Next add the gravel, we used blue metal gravel to the depth of about 25 cm

At this stage you also want to start filling the reservoir with water, so you can get the gravel level with the overflow.

Thrive sustainability

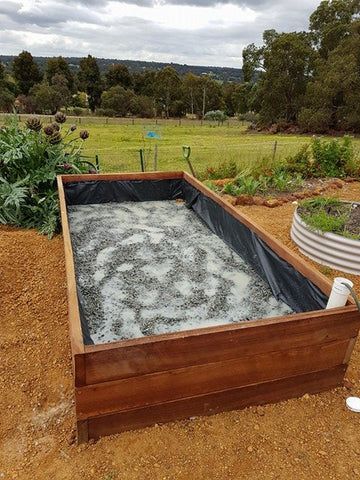
Next, a layer of geotextile fabric goes over the top of the scoria to prevent the soil clogging the water reservoir.

Thrive sustainability

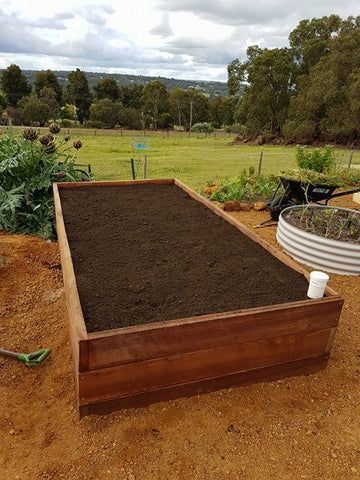
Finally, the soil goes on top. It needs to be around 30 centimetres deep - the optimal height to get soil wicking properly. 

really good quality vegie garden soil that's high in organic matter - that's essential for the wicking to work effectively.

The soil will take a little while to start to wick by itself – a few days to a week- so until that point, you will need to water from above.

Thrive sustainability

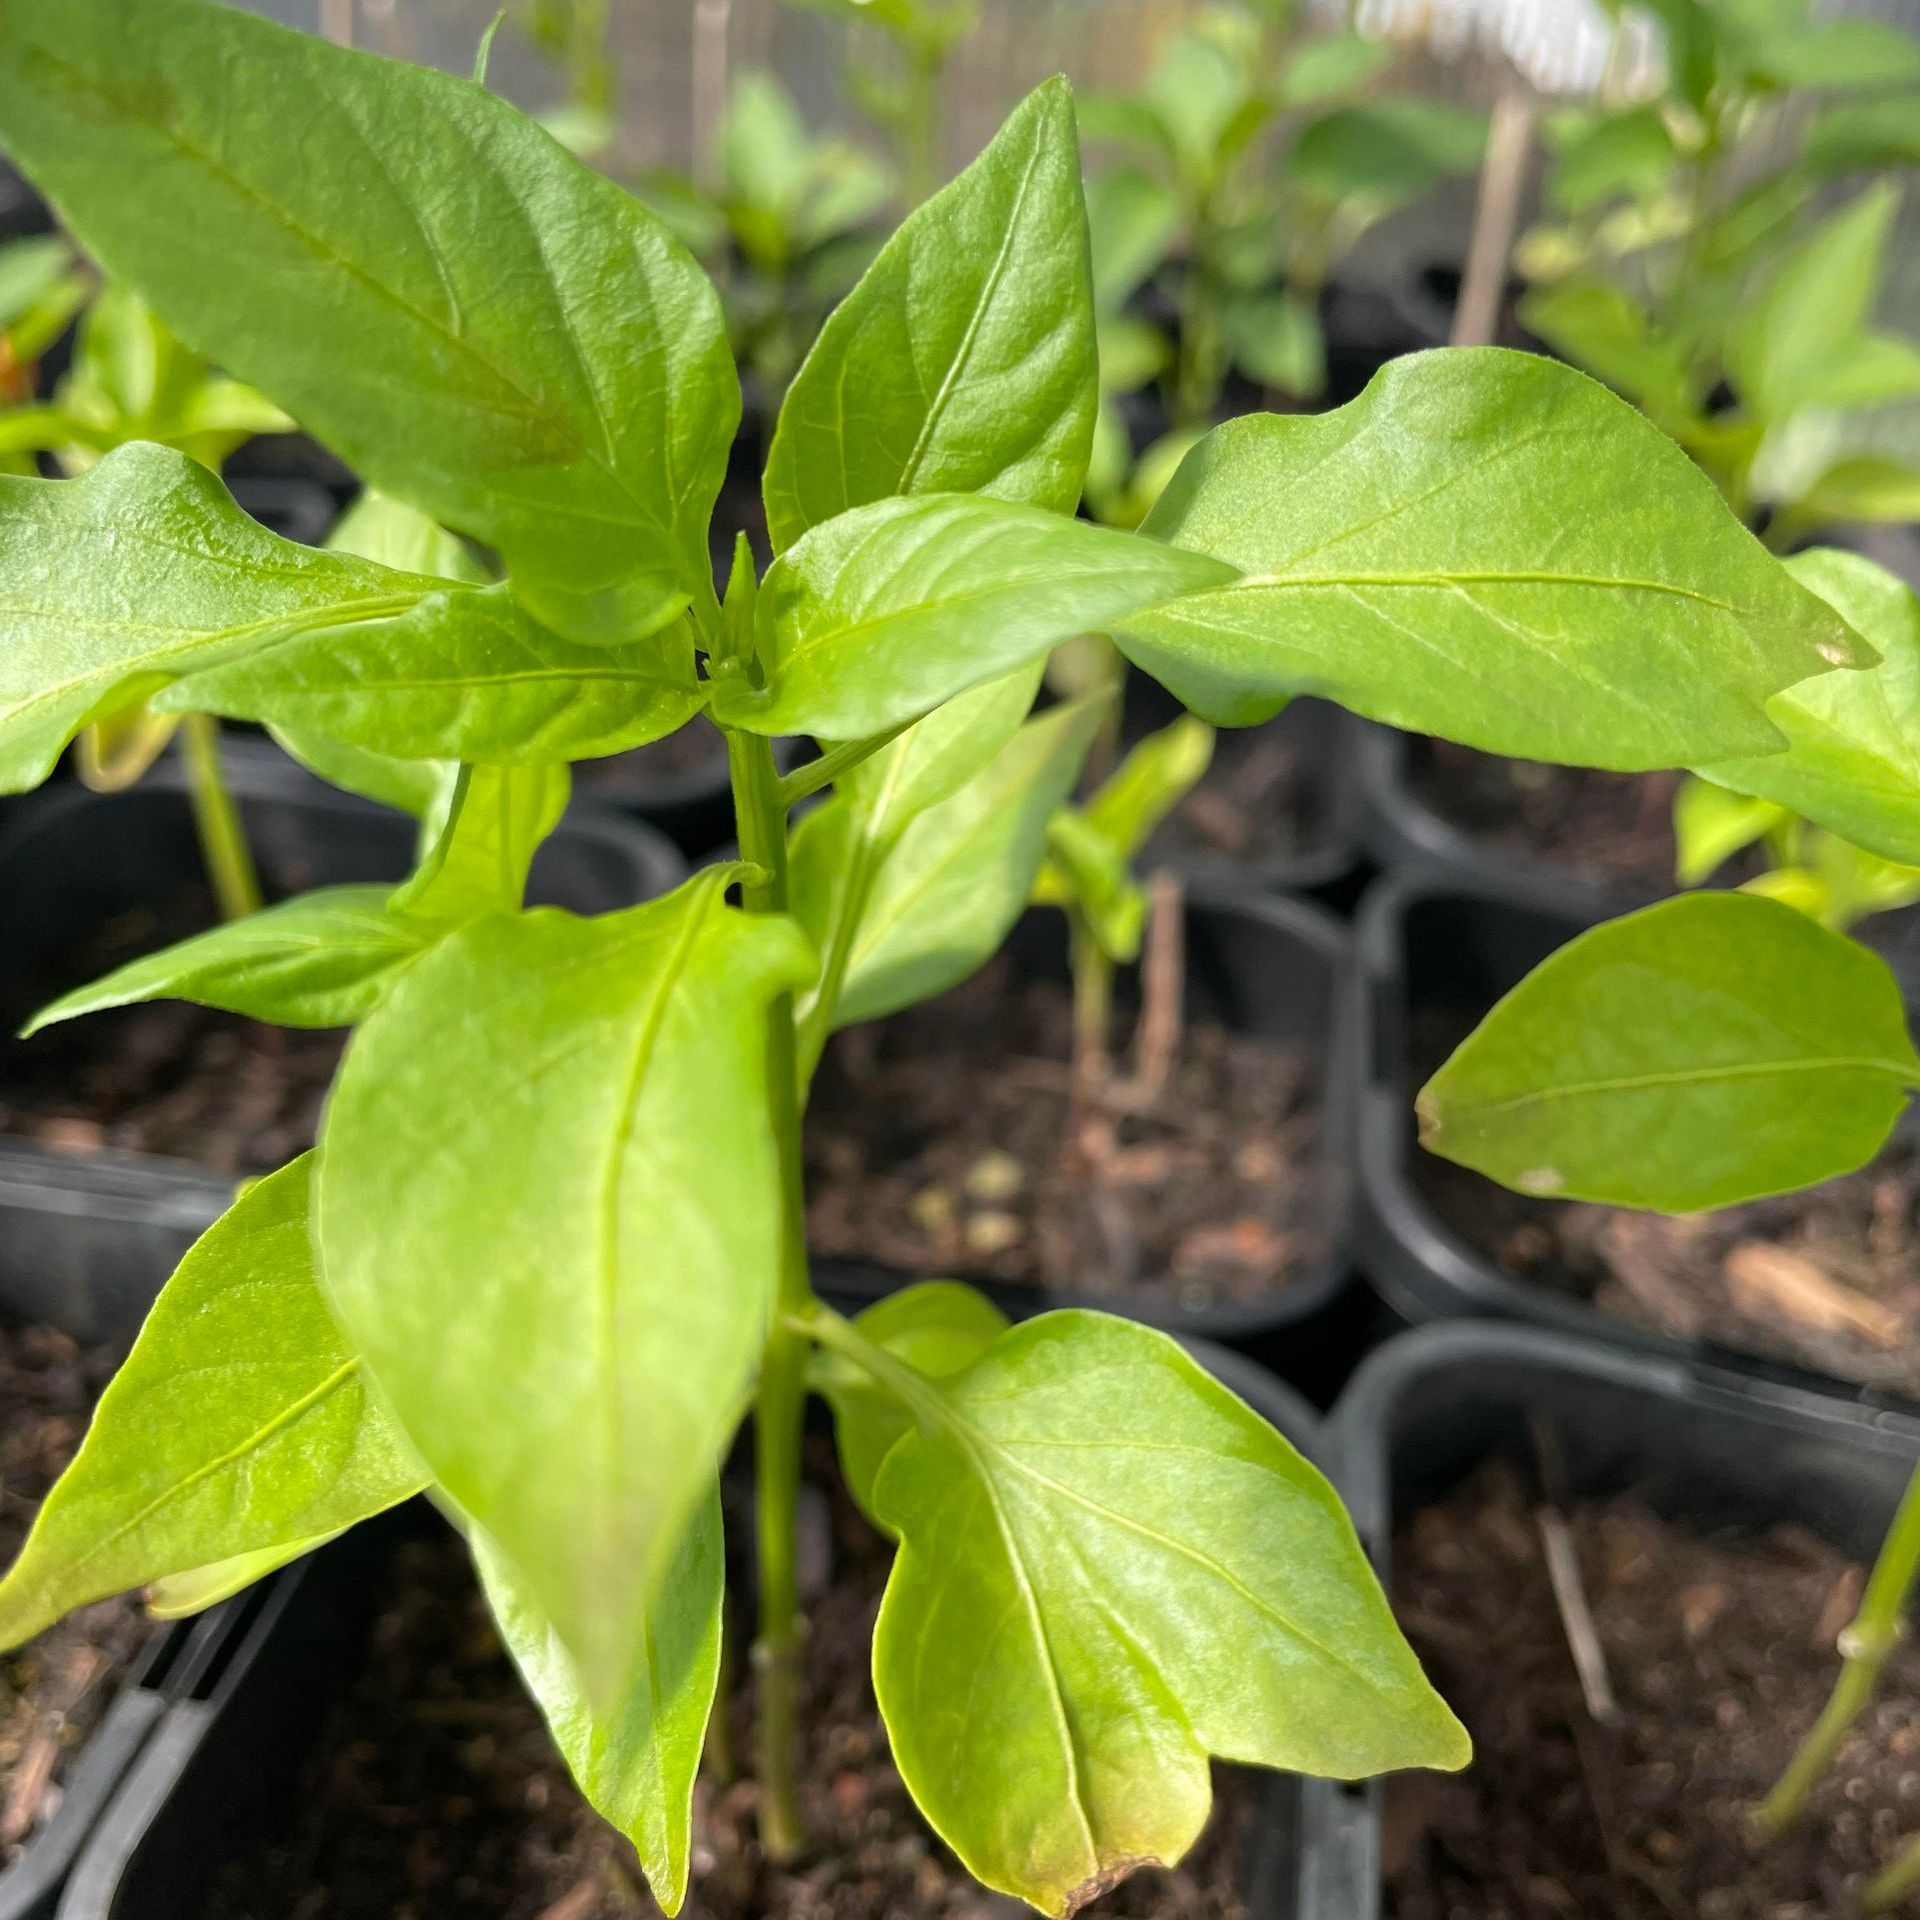
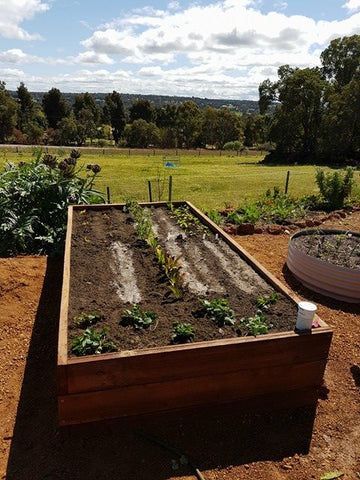
Finally the fun bit- Planting out your seedlings, remember to add a layer of mulch after planting.

Thrive sustainability

If you like the idea of growing in a wicking bed but do not have the time to build your own local Perth based business https://plantersraisedgardens.au/ sell wicking bed systems. Sign up for our newsletter for more helpful gardening info and to keep up to date with events and workshops that we run throughout the year. Happy gardening :)

Click this link to sign up to our newsletter   http://eepurl.com/cTAxHj


By Laura Blishen November 15, 2024
Australia's unique ecosystems are home to a variety of insects that play vital roles in maintaining healthy gardens. Beneficial insects play 3 important roles in the veggie patch. Pollinators : These insects pollinate flowers and without them growing fruit and vegetables would be almost impossible. Examples include bees, butterflies, flies, and moths. Predators: These insects eliminate pests by eating them. Examples include ladybugs, praying mantids, and green lacewing larvae. Parasitoids : These insects lay their eggs on or inside other insects, which then become food for the developing larvae. Examples include wasps and flies. Pictured below: Homemade bee hotels, blue banded bee's, Lacewing egg on a mulberry fruit.
By Laura Blishen October 11, 2024
Raising your own vegetable seedlings from seed saves money, allows you to source interesting varieties that may not be available in punnets from your local garden centre and can grow as much as you need and practice successional planting. Sowing and germinating the seeds is the first step (for more tips on this see our seed raising guide here) Getting the seeds to pop their little heads up is the first challenge, but many people find once they get the seedlings past the stage where adult leaves are forming, they encounter problems. Common issues include Damping off, a fungal disease, that can cause seedlings to collapse and die suddenly. Leggy seedlings result from insufficient light, leading to weak, elongated stems. Yellowing leaves can indicate nutrient deficiencies or overwatering. Pest infestations, such as tiny fungus gnats flying around seedlings and infesting soil, can damage young plants. Mold growth in seed trays is another issue, often due to excessive moisture and poor air circulation. The following conditions are crucial for growing healthy, robust seedlings. Optimal Lighting and Temperature Seedlings need plenty of light to grow strong. Long, leggy, stretched seedlings are a result of insufficient light. If starting seeds inside on a windowsill once they have germinated, you need to get them outside in natural light, if the weather is cold a greenhouse or cold frame is useful, most commonly in Perth at this time of year the issue may be getting a hot sunny day that fry’s your little seedlings whilst you are at work; in this case placing them under the dappled shade of a tree or creating a little shelter with 30 – 40% shade cloth is ideal. If putting them outside before planting out is not practical or in the case of starting plants such as chillis and capsicums early when the weather is still cold, use grow lights for 12-16 hours a day. When using lights, I have constructed a reflective surround using corflute and kitchen foil that sits around the seedling trays to help the light distribute evenly. For most vegetables maintaining a temperature between 18-24°C is suitable to encourage healthy growth. Watering and Humidity Keep the soil consistently moist but not waterlogged. Signs of overwatering can be yellowing leaves or an infestation of fungus gnats. How often seedlings are watered will depend on temperature and situation, but they will generally need watering once, or twice daily. Good Air Circulation Ensure there is adequate airflow around your seedlings. If growing in a greenhouse open windows and doors during the day or use a small fan to gently circulate air, which helps prevent the humid conditions that fungus gnats, fungi that causes damping off and mould thrive in. Fertilising Once seedlings have their first true adult leaves, start feeding them with a diluted, balanced fertilizer. Be careful to use the right dilution as fertiliser that is too strong can burn and damage young seedlings; a weaker solution is needed for seedling than mature plants and shrubs. I feed potted seedlings weekly, until they are a good size to plant out in the vegetable patch. Mark it in your diary or calendar so you remember to keep to the schedule! Seaweed solutions can be useful to prevent transplant shock and stress, but they are not a fertiliser and will not provide adequate nutrients to young growing plants. We make our own liquid fertilisers using weeds, manures and compost. Verigrow is also an excellent locally made fertiliser that we use occasionally. Regular pest check Small seedlings can quickly be decimated by pests due to their small size and in isolated areas such as greenhouses you won’t have small birds doing the pest patrol for you! Make a point of inspecting your seedlings closely a couple of times a week so you can address any problems before they reach plague proportions.
By Laura Blishen September 18, 2024
Learn how to save seeds from your favourite open pollinated Tomato, Chilli and Capsicum varieties.
By Laura Blishen September 18, 2024
Recent WA Ban on Tomato, Capsicum, and Chilli Seeds imports.
By Laura Blishen August 12, 2024
Seaweed tea: Fill a bucket or bin with seaweed and add water. The seaweed should be submerged. You can add seaweed loose or if you have one you can use a mesh bag (the type of sacks used for onions) or make your own tea bag out of some old scraps of shade cloth. Rainwater is best but if you are using treated tap water you can leave tap water in an open container for 1 to 5 days before using and some of the chlorine will naturally dissipate into the air. Place the bucket in a shady area, the brew will get a bit stinky so place in an out of the way spot where it will not bother you. Cover the bucket loosely with a lid so animals can’t get in and so any rain does not overfill and dilute the brew, but so that air can still circulate. Let it soak for at least 8 weeks or up to 6 months. The longer it brews, the more nutrient-packed it becomes. At the start the seaweed will break down using aerobic digestion, giving it a daily stir for the first few weeks will speed the process up or if you get serious with your brewing you can attach an aquarium pump, as the tea starts going into the anaerobic stage of decomposition it will get pretty stinky, this is all normal. A good indicator that the tea has finished this process is that the tea will stop smelling. The tea will brew quicker in warmer weather and be slower in the winter months. Strain the Tea: Pour the seaweed tea through a sieve or strainer into another bucket. This removes any remaining seaweed bits. Add any leftover seaweed sludge in to the compost. Using the Seaweed Tea: Dilute the seaweed tea with water (usually 1:10 ratio) and use it to water your plants. Apply it at the root zone or as a foliar spray.
By Laura Blishen June 6, 2024
Ward of winter ills, make use of nature's pharmacy and utilize an ingredient that is often seen as kitchen waste.
By Laura Blishen June 5, 2024
This is a subtitle for your new post
By Laura Blishen May 16, 2024
A guide to growing an abundant supply of lettuce and leafy greens in your patch.
By Laura Blishen April 18, 2024
With a little prepping and planning winter can be the easiest and most productive season to grow food.
By Laura Blishen February 20, 2024
Sweet Beets for burgers, salads and more!
More Posts
Share by: